Note: Check what replacement parts are available before planning any major repairs; contact Section 1. A Ford dealer or a reputable engine repair and parts specialist can help you overcome the shortage of replacement parts.
1. To inspect the connecting rod and piston group, it must be cleaned and the piston rings removed from the pistons. Rings must have smooth, polished working surfaces, without dull or carbon-covered areas (showing that the ring does not fit tightly against the cylinder walls) and traces of wear on the top or bottom. The ring cut gaps must be free of carbon deposits, but not polished (which indicates that the cutting gap is too small), and all the rings (including oil scraper ring elements) they should rotate freely in their grooves, but without excessive up-and-down movement. If the rings are in good condition, they can be used further. Check the cut clearances (in the unworn part of the cylinder liner) as described in Section 20. If any of the rings are worn, damaged, or have a cut gap that is significantly different from the specified value, replace all rings as a set.
Please remember: when we advise you to replace the piston rings with new ones every time the engine is rebuilt, we certainly assume that you have this opportunity. Reinstallation of all or part of the rings is possible, but should be done with great care. Take every care not to break or damage any of the rings during the following procedures, and mark each ring when removed so that it is reinstalled in the same groove and with the same side facing up.
2. Using a piston ring installation tool, carefully separate the rings from the pistons. If such a tool is not available, the rings can be removed manually. Use an old feeler gauge to pull the ring out of the groove (see 16.2). Be careful not to damage the rings when removing them; when removing the rings, mark their upper surface and which groove they belong to. Also, take care of your hands - piston rings are sharp!
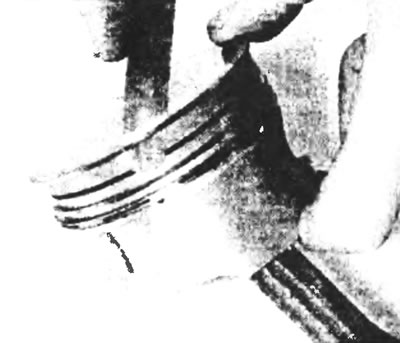
Figure 16.2. Using an old feeler gauge blade to prevent piston rings from falling into empty grooves during removal.
3. Thoroughly clean the piston crown from carbon deposits and sand it with fine sandpaper or a wire brush. Under no circumstances should you use a wire brush in combination with a drill - the piston material is soft and can be damaged by a mechanical wire brush.
4. Use a special tool to remove carbon deposits from the ring grooves. If the tool is not available, but you have managed to get new replacement rings, break off a piece from the old ring and use it. Be very careful to remove only the carbon deposits and not scratch the sides of the ring grooves
5. Once the deposits are removed, wash the connecting rod and piston group with solvent and dry them with compressed air (if possible). Make sure the oil passages in the piston ring grooves are clean.
6. If the cylinder mirrors are not damaged or excessively worn, and if the cylinders have not been bored for other reasons (see section 15), then new pistons are not needed.
7. Carefully inspect the pistons for cracks around the skirt, in the pin holes, and at the piston ring groove walls (between the grooves).
8. Inspect for nicks and wear marks on the thrust surfaces of the skirt, burnouts in the piston head, and burnt areas on its edges. If the skirt is worn or nicked, it may be due to engine overheating or improper combustion of the fuel mixture, which causes excessively high operating temperatures. Lubrication and cooling systems must be fully checked.
9. Piston corrosion (covering with small holes) indicates that coolant is leaking into the combustion chamber or crankcase. And in this case, the cause must be corrected, otherwise the problem will persist in the rebuilt engine.
10. When replacing pistons without reboring, make sure that you have purchased pistons of the correct size. Information regarding the original cylinder diameters, as well as the main and connecting rod journals, is stamped on a plate in the lower right corner of the cylinder block. When purchasing parts, consult your Ford dealer or engine repair specialist.
11. To separate the piston and connecting rod, remove the snap rings and push out the piston pin. Identify the piston and rod and the installation direction of each for proper reassembly (see Figure 16.11, a-c).
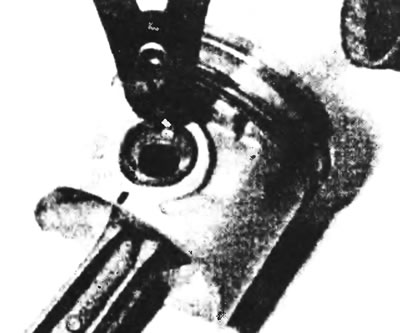
Figure 16.11a. To separate the piston and connecting rod, remove the retaining spring rings...
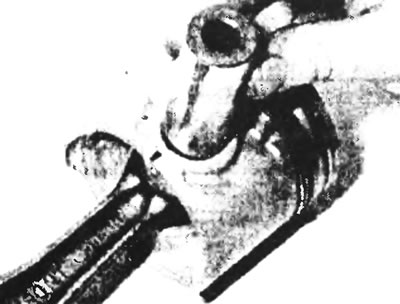
Figure 16.11b....and push out the piston pin.
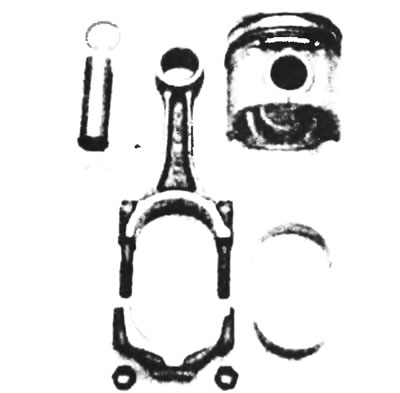
Figure 16.11c. Store all parts of the connecting rod and piston group together, maintaining their relative positions.
12. Wear between the piston pin and the connecting rod small end bushing can be corrected by replacing the pin and bushing with new ones. Replacing the bushing, however, is a specialist job, as special equipment is required to properly install the new bushing.
13. New piston pins and retaining rings are included with the purchase of new pistons. The cranks themselves should not require replacement unless they have seized or suffered other serious mechanical failure. Inspect the connecting rods visually and if they are bent, take them to a specialist for a more detailed inspection.
14. Assemble the connecting rod and piston group. Make sure the pistons are installed as marked during removal. Lubricate the piston pins before installing them. When assembled, the piston should rotate freely on the connecting rod.
15. Measure the piston diameters and check that they do not exceed the limits specified in Specifications for the corresponding cylinder classes. If the piston clearance in the cylinder is excessive, it is necessary to bore the cylinder and install new pistons and piston rings.