Note: Check what replacement parts are available before performing any major repairs. Your Ford dealer, engine repair specialist, or parts supplier can help you overcome this deficiency.
1. Clean the crankshaft with solvent and dry it with compressed air (if any). Clean the oil passages with a stiff brush and flush them with solvent.
Warning: Protect your eyes when using compressed air!
2. Inspect the crankshaft main and connecting rod journals for uneven wear, scratches, pitting, cracks or splitting.
3. Run a copper coin along the crankshaft journal several times. If a copper mark remains on the neck, the neck is considered rough and should be polished.
4. Using a whetstone, file or scraper, remove all burrs from the oil holes.
5. Using a micrometer, measure the diameter of the main and connecting rod journals and compare the results with Specifications at the beginning of the chapter (see Figure 17.5).
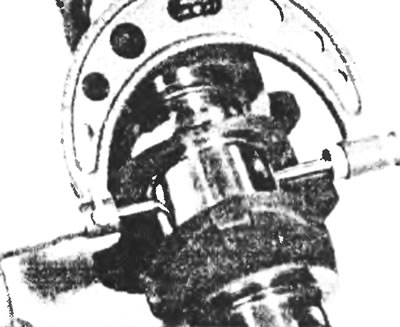
Figure 17.5. Using a micrometer, measure the crankshaft journal diameters.
6. Measuring the diameter of the neck at different points of one section allows us to determine its ovality.
To determine the journal taper, measure the diameter at both ends of the journal near the crank cheeks.
7. If the crankshaft journals are damaged, tapered, out of round, or worn beyond specification, the crankshaft must be resurfaced at an auto repair shop. After carrying out restoration work, do not forget that during assembly, liners of the appropriate repair size must be used.
8. Inspect the seals at each end of the crankshaft for signs of wear or damage. If a depression has formed under the seal, contact a specialist. If repairs are not possible, a new crankshaft must be installed.