Contents: Inspection ↳ Installation ↳
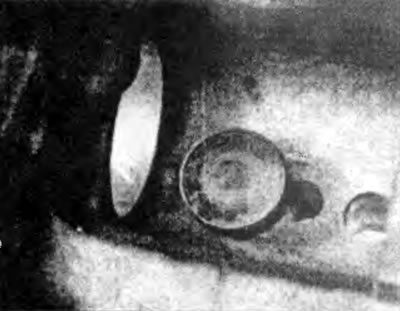
Figure 12.12. ... and remove the tappets one by one, storing them in the order they were removed.
Inspection
13. Inspect the camshaft bearings and camshaft lobes for damage or excessive wear (see figure 12.13) If wear is evident, the camshaft must be replaced.
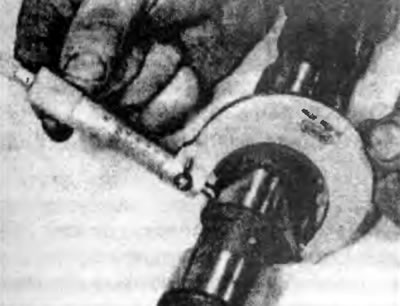
Figure 12.13. Check the camshaft lobes for wear using a micrometer.
14. Inspect the camshaft bearing surfaces for signs of damage or excessive wear. If obvious, the bearings should be replaced by a Ford dealer or engine overhaul specialist.
15. Measure the thickness of the camshaft thrust plate and the shoulder depth on the camshaft gasket bushing. The difference between the two dimensions gives the camshaft clearance. If this value is outside the limits given in the Specifications, replace the thrust plate and intermediate ring.
16. Tappet wear is rarely excessive, but it is likely that after high mileage the cam lobe contact surfaces will show signs of wear such as pitting or grooves.
17. If one of these conditions is evident, replace the tappets. Grinding out the pits and wear marks will reduce the thickness of the surface reinforcing coating and further accelerate wear.
18. Completely clean all traces of the old gasket from the cylinder block and intermediate plate.
19. Before reinstallation, it is advisable to replace the intermediate plate oil seal as follows.
20. Measure and record the installation depth of the oil seal relative to the outer surface of the intermediate plate (see Figure 12.20).
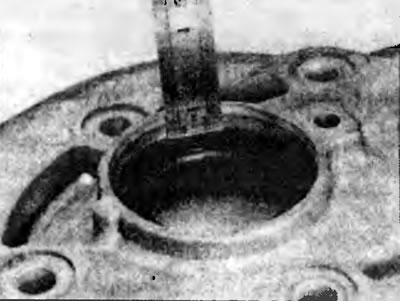
Figure 12.20. Measure and record the installation depth of the intermediate plate seals.
21. While supporting the plate on the beam, knock out the old seal with a small center punch (see Figure 12.21).
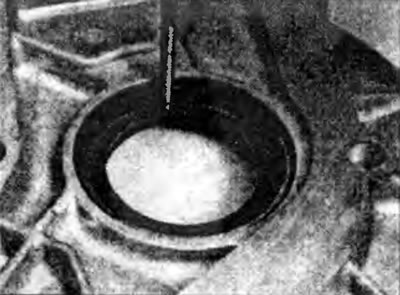
Figure 12.21. Knock out the old sealing ring with a small center punch.
22. Position the new seal in the bore of the intermediate plate with the open side of the seal facing inward (to the side of the plate that faces the engine) (see Fig. 12.22).
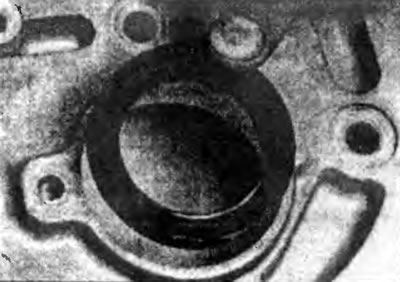
Figure 12.22. Place the new seal in the hole in the intermediate plate with the open side facing inward.
23. Press the new seal into place using the old one as a guide. Make sure the new seal is installed at the same depth as the old one.
24. The new oil seal must be provided with a plastic bushing to protect the lip of the oil seal as it engages the oil pump housing. Secure this sleeve for use during reinstallation.
Installation
25. To reinstall the tappets and camshaft. it is necessary that the crankcase be turned over.
26. Lubricate the lifters, then insert each lifter completely into the original bore diameter in the cylinder block (see Figure 12.26).
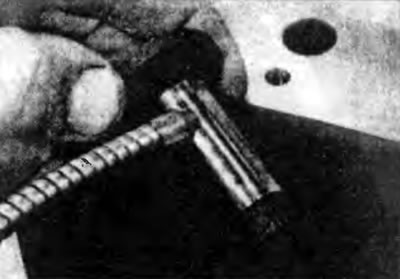
Figure 12.26. Lubricate the tappets and guides in the cylinder block.
27. Make sure the steel ball is in place at the end of the camshaft, then lubricate the camshaft bearings, camshaft and thrust plate. Insert the camshaft into the crankcase from the drive belt side (see figure 12.27.a,b).
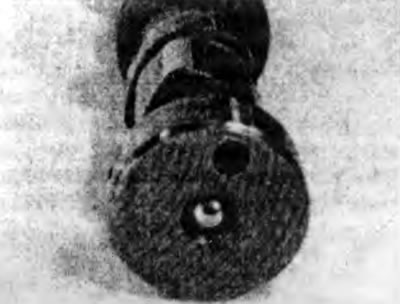
Figure 12.27a. Make sure the steel ball is in the hole on the end of the camshaft.
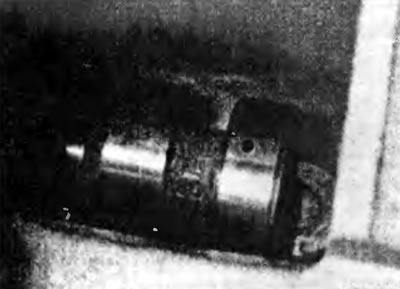
Figure 12.27b....and insert the camshaft into the crankcase.
28. Install the thrust plate with two oil supply grooves and tighten the retaining bolts to the specified torque. Make sure the camshaft rotates freely.
29. Install a new intermediate plate gasket (see Figure 12.29)
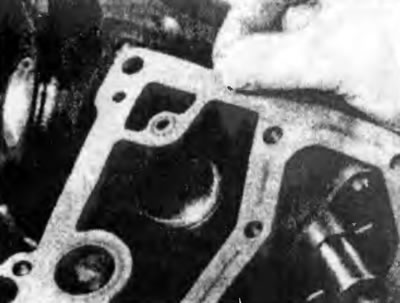
Figure 12.29. Place the new gasket on the engine-facing side of the intermediate plate.
30. Place the new oil channel seal into the recess on the face of the cylinder block (see Figure 12.27.b).
31. The new oil seal must be provided with a plastic bushing that protects the lip of the oil seal when the housing is reinstalled. If a sleeve was not provided, make a suitable alternative from a disposable cup or something similar.
32. Liberally grease the oil seal lip, then insert the protective sleeve into the oil seal from the rear so that it is pushed out by the camshaft once the intermediate plate is installed (see 12.32).
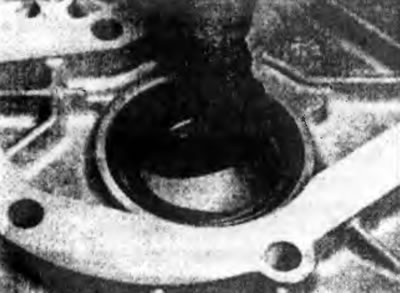
Figure 12.32. After generously lubricating the contact edge of the seal, insert the protective sleeve into it from behind.
33. Install the intermediate plate with the protective sleeve in the same way as they were removed. Insert the retaining bolts and tighten them by hand at this stage.
34. Now you need to make sure that the oil seal is precisely centered on the camshaft. It is ideal to use Ford Special Tool 21-159 to do this. However, in practice, the movement of the intermediate plate within the holes for the fixing bolts is limited so much that centralization can be achieved without a special tool as follows.
35. Lubricate and install the camshaft timing pulley gasket bushing and visually check that the oil seal is centered on the bushing. At the same time, make sure that the bottom faces of the intermediate plate and the cylinder block are perfectly level using a square. When everything is correct, tighten the retaining bolts to the specified torque in the sequence shown (see figure 12 35.a-g). Note that the tightening torque for bolt number 9 is different from the tightening torque for the other bolts.
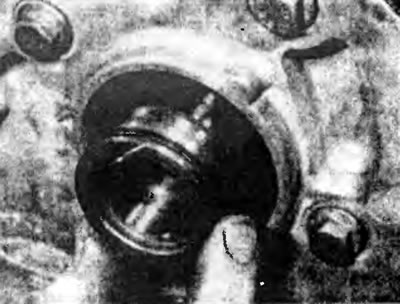
Figure 12.35a. Lubricate and install the intermediate sleeve of the toothed pulley onto the camshaft...
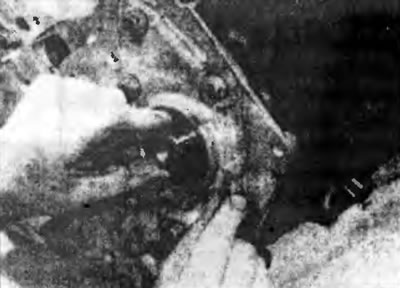
Figure 12.35b.... and check (by eye) that the seal is centered perpendicular to the bushing.
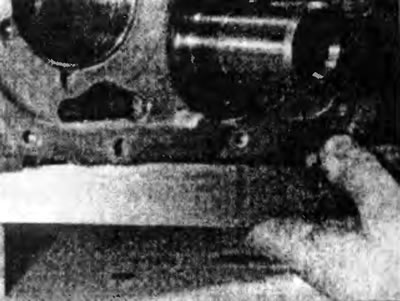
Figure 12.35c. At the same time, check that the lower edges of the cylinder block and the intermediate plate are flush.
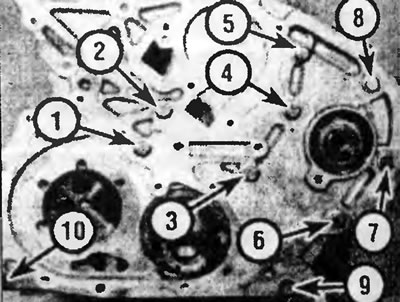
Figure 12.35g. Tighten the mounting bolts in the sequence shown.
36. Install the lower support bracket bolt and intermediate plate in place.
37. Position the new seal (on those models where it is provided) on the front of the camshaft and push it out to the level of the bushing.
38. Install the coolant pipe and hoses.
39. Install the remaining removed components, following the relevant chapters and paragraphs.