Please note: new or reconditioned cylinder heads are always available at our dealerships or auto service workshops. Because disassembling and inspecting a cylinder head requires specialized tools, and because spare parts are in short supply, it may be more cost-effective for home mechanics to purchase a remanufactured cylinder head rather than attempting to disassemble, inspect, and rebuild the old one.
1. Remove all remaining hoses, support brackets and related components, then unscrew the retaining bolts and remove the intake manifold (if it has not already been removed as part of the cylinder head removal procedure). Remove the gasket between the intake manifold and the cylinder head.
2. If the exhaust manifold has not already been removed, remove the retaining bolts and lift the exhaust manifold away from the cylinder head (having first removed all the components associated with it).
3. Unscrew the bolts and remove the thermostat housing, removing the gasket.
4. To remove the valve springs and cylinder head valves, you will need a standard valve spring puller. Install the valve spring compressor onto the first valve spring to be removed (see figure 9.4). If you are removing all valves and springs, start with valve #1 (closest to the camshaft drive belt cover). Be careful not to damage or bend the valve stem with the puller or to crush the spring. When squeezing the puller, it may be found that the holder does not release the spring, and the valve cotters are then difficult to remove. In this case, remove the puller and then install the pipe section (or a socket of a suitable diameter) against the outer frame of the retainer so that it does not interfere with the removal of the valve crackers. Knock on the pipe (or nest) with a hammer to disengage the valve components.
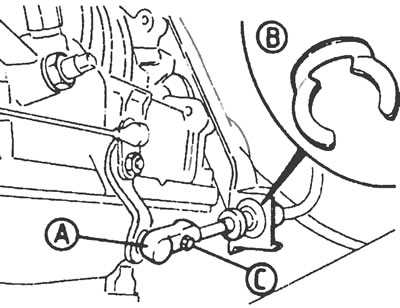
Figure 9.4. Install the valve spring remover on the first spring to be removed and its valve.
5. Install the puller and compress it enough to allow the valve keepers to be removed. Loosen the puller and remove the retainer and spring (see figure 9.5a,b). Remove the valve from the cylinder head.
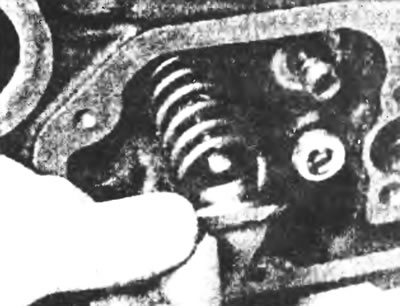
Figure 9.5a. Remove the spring compressor and then remove the plate...
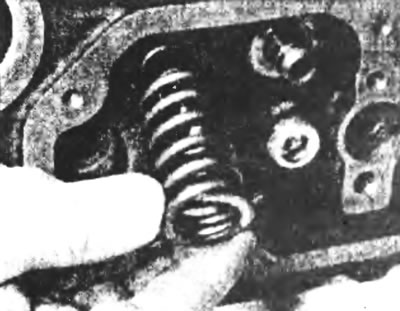
Figure 9.5b....and the valve spring.
6. Repeat the removal procedure for each of the remaining seven valves in turn. Once removed, store the valves in the order they were removed by placing them in a piece of cardboard that has holes numbered 1 through 8 (counting from the gear cover side). Store springs, crackers, and clips in similar numbered cardboard boxes. You can also put all components of the valve being removed in a separate numbered bag (see Fig. 9.6)
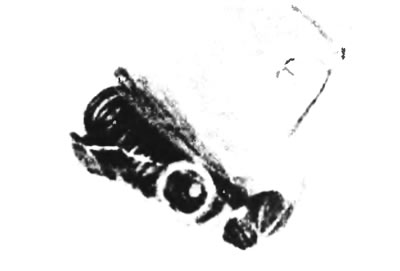
Figure 9.6 Place all valve components in a separate numbered bag.
7. Once all the valves have been removed, use pliers to remove the valve stem seal covers (see Figure 9.7).
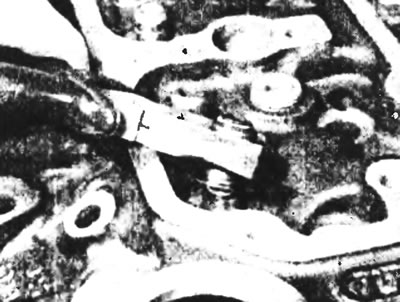
Figure 9.7. Remove the valve stem seal cover with pliers.