Caution: Dust resulting from wear of friction linings (and deposited on the clutch components), contains asbestos compounds that are hazardous to health. Do not blow out clutch parts with compressed air. Do not inhale dust. Do not use fuel or petroleum products to clean parts from dust. Only methyl alcohol and special cleaning liquid can be used to remove dust.
Removal
1. Access to the clutch can be achieved in two ways: after removing the engine (Chapter 2B) and after removing the gearbox (Chapter 7A).
2. After removing the engine or gearbox, check for marks indicating the position of the clutch housing relative to the flywheel. If there are no marks, put them in yourself. These marks will be needed when reinstalling the old casing. The new casing can be installed in any position according to the mounting pins.
3. Remove the six bolts securing the clutch cover in a diagonal sequence, loosening the bolts a few turns at a time. If it is necessary to keep the flywheel motionless, insert a wide screwdriver into the starter gear tooth, resting its handle against the wall of the cylinder block.
4. Carefully remove the cover from the pins, holding the clutch disc, which will fall out when the cover is removed. Mark the position of the disc relative to the gearbox input shaft.
Inspection
5. The most common problem is wear of the clutch disc. However, all clutch components should be checked, especially if the engine has high mileage. If you are not sure that all clutch parts are practically new, it is worth replacing the entire clutch mechanism (clutch disc, pressure plate and thrust bearing). Replacing just the clutch disc in this case cannot guarantee good operation of the unit, especially if the old disc was slipping and overheating the pressure plate.
6. Check the clutch disc linings for wear and missing rivets, and the disc hubs and rim for distortion, cracks, broken springs and worn grooves. The surface of the friction linings may be brightly shiny, but if the structure of the friction material is not damaged and the rivet heads are at least 1 mm below the surface of the linings, this is satisfactory. If there is any sign of oiling, such as a black discoloration in the sun, the disc should be reconditioned and the cause of the oiling corrected. This could be a leak in the crankshaft or transmission input shaft oil seals. Procedures for renewing oil seals are given in Chapters 2A and 7A respectively.
7. Inspect the working surfaces of the flywheel and pressure plate. If there are potholes or serious damage, replacement is necessary. The pressure plate should also be renewed if there are obvious cracks, damage to the diaphragm blades or insufficient pressure. Pay particular attention to the areas where the thrust bearing contacts the diaphragm blades.
8. If the transmission is removed, also check the condition of the thrust bearing as described in section 5, and replace it if it is worn out.
Installation
9. When installing, it is important to avoid engine oil getting on the friction linings of the clutch disc and the working surfaces of the flywheel and pressure plate. Therefore, before installing the clutch mechanism, wash your hands thoroughly and wipe the surface of the pressure plate and flywheel with a clean, dry cloth.
10. First of all, correctly position the clutch disc relative to the flywheel. The side of the disc facing the flywheel is marked "flywheel side" or "schwungrad-seite", stamped on the surface of the disc (see Figure 4.10).
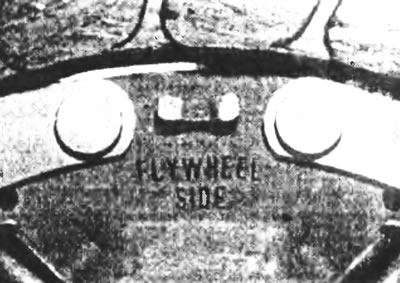
Figure 4.10. Clutch disc marking from the flywheel side.
11. Install the clutch cover onto the pins. Tighten the retaining bolts finger tight until the clutch disc is engaged but still able to move.
12. The clutch disc must be centered so that when the engine and transmission are connected, the splines of the transmission input shaft pass through the clutch disc bushing.
13. Centering can be accomplished by inserting a round rod through the hole in the center of the clutch disc so that the end of the rod rests on the transmission input shaft thrust bearing at the rear of the crankshaft. Move the rod and clutch disc until the rod position matches the required alignment direction.
14. You can check the alignment by removing the rod and examining the clutch disc bushing relative to the diaphragm blades. If the disc sleeve is exactly in the center of the circle created by the petals, then the clutch disc is installed correctly
15. More precise alignment can be achieved by using a special alignment tool available at most auto parts stores (see Figure 4.15).
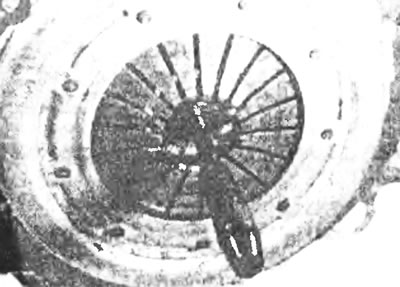
Figure 4.15. Using a special tool when centering the clutch disc.
16. Once the clutch is centralized, gradually tighten the housing bolts in a diagonal sequence to the specified torque (see figure 4.16.).
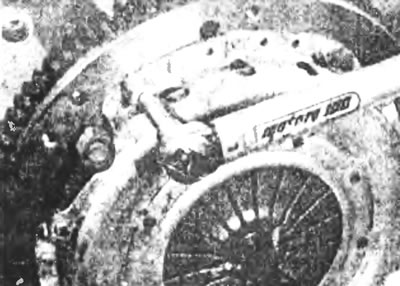
Figure 4.16. Tighten the housing bolts to the specified torque.
17. Make sure the input shaft splines, clutch disc grooves, and thrust bearing guide sleeve are clean. Lubricate the input shaft splines and thrust bearing guide sleeve with a high-melting-point compound. Use only a very small amount of lubricant, otherwise excess will inevitably get onto the friction linings when the vehicle is running.