Contents: Removal ↳ Installation ↳
Removal
1. Make sure the parking brake is applied and the rear wheels are locked. Raise the front of the vehicle and support it with a jack at a comfortable working height.
2. Disconnect the end of the cable secured to the toothed segment of the clutch pedal (see figure 2.2.).
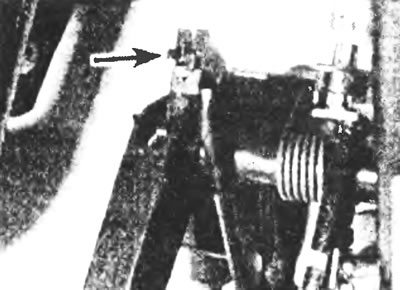
Figure 2.2. Cable location at the end of the pedal.
3. From underneath the vehicle, disconnect the rubber tip of the release fork from the clutch boat side and lift it up the cable (see figure 2.3).
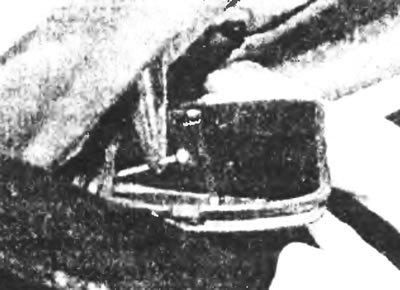
Figure 2.3. Location of the cable, release fork and rubber boot on the clutch housing.
4. Release the end of the cable passing through the hole in the release fork. Pull the cable out of the clutch housing and remove the rubber tip from it.
5. Pull the cable and remove it from the engine side.
Installation
6. After pulling the cable through the bottom of the car and the clutch housing, put the rubber tip on it. After securing the end of the cable to the release fork, install the rubber tip on the clutch housing.
7. Place a wooden block of suitable height under the clutch pedal so that the pawl does not interfere with the free movement of the toothed segment.
8. Connect the cable to the toothed segment and ensure that it is positioned correctly (see Figure 2.8).
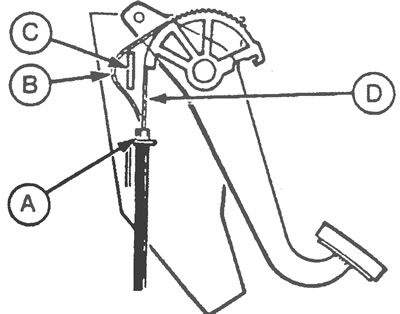
Figure 2.8. Installing the clutch cable: A - Cable sheath nut, B - Incorrect installation, C - Guide bracket, D - Correct installation.
9. Remove the wooden block and press the clutch pedal several times to adjust the cable tension. Lower the car to the ground.
For more information, please visit the specified website [FORDBOOK.RU]