Note: Please refer to the warnings given at the beginning of the chapter before getting started.
Removal
1. Disconnect the negative battery cable.
2. Drain the cooling system (see Chapter 1).
3. Loosen the clamp and disconnect the upper radiator hose from the thermostat housing.
4. On early models, remove the two bolts, then lift the thermostat cover and remove the thermostat from under the cover (see figure 7.4)
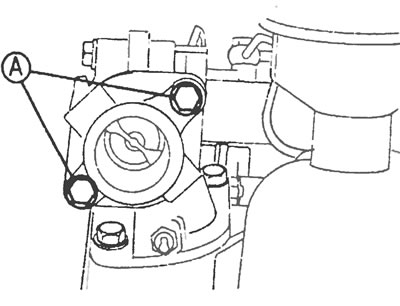
Figure 7.4. On early models, unscrew the two bolts (A) and remove the thermostat cover
5. On later models, unscrew the thermostat cover using a suitable wrench. Remove the thermostat and remove the rubber seal (see Figure 7.5, a-c).
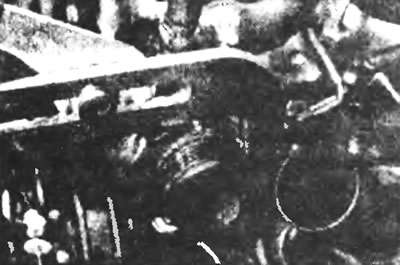
Figure 7.5a. On later models, unscrew the thermostat cover using a suitable wrench.
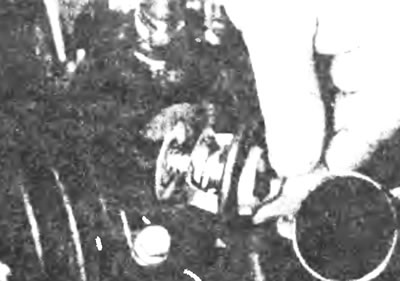
Figure 7.5b....remove the thermostat.
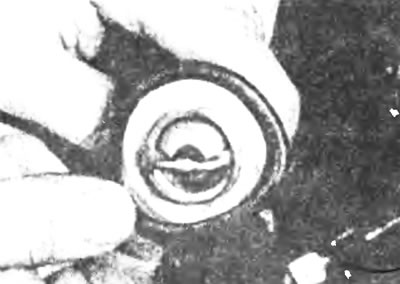
Figure 7.5c....and remove the sealing ring.
Examination
General check
6. Before deciding that the thermostat is faulty, check the coolant level, tension and condition of the drive belt (see chapter 1) and the operation of the temperature sensor.
7. If you feel like the engine is taking too long to warm up (judging by the external manifestations and sensor readings), the thermostat is probably left open. Replace the thermostat with a new one.
8. When the engine is hot, check the temperature of the upper radiator hose. If it stays cool when the engine is hot, the thermostat is likely stuck closed, trapping coolant inside the engine and preventing it from flowing to the radiator - replace the thermostat with a new one.
Caution: Do not drive your vehicle without a thermostat. The absence of a thermostat will accelerate heating and overheating of the engine. Also, on models with an engine management system, fuel consumption will increase.
9. If the upper radiator hose is hot, it means the coolant is moving and the thermostat is open. Please refer to the section "Troubleshooting" when considering possible malfunctions of the cooling system.
Checking the Thermostat
10. If the thermostat remains open at room temperature, it is defective and must definitely be replaced.
11. To check this, lower the (closed) thermostat on a thread into a container with cold water and a thermometer; without touching the sides of the container (see Figure 7.11).
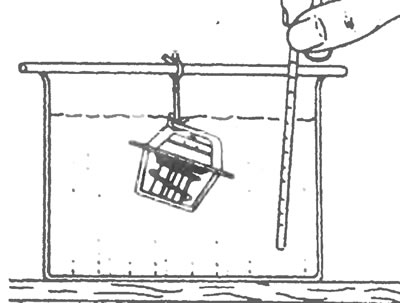
Figure 7.11. Checking the thermostat opening temperature.
12. Heat the water and check the temperature at which the thermostat starts to open, compare this value with the one specified in the specification. It is difficult to test the full opening temperature because it is close to the boiling point of water at normal atmospheric pressure. If the temperature at which the thermostat started to open was within specification, then the thermostat is most likely fine. Remove the thermostat and let it cool down; check that it closes completely.
13. If the thermostat does not open and close as described, if it sticks, or if it does not open at the specified temperature, it must be replaced.
Installation
14. Installation is carried out in the reverse order of removal. Clean the mating surfaces thoroughly and replace the thermostat seal or gasket with new ones if necessary.
15. Fill the cooling system with liquid (see chapter 1).
16. Start the engine and let it warm up, then check the system for leaks and proper thermostat operation.
[Information for this article was taken from the website: FordBook.ru]