Caution: Please refer to the warnings provided in section 1 this Chapter before starting work. If the radiator is removed to fix a leak, note that minor leaks can be repaired without removing the radiator using a special sealant such as Holts Radweid.
Removal
Models before 1995
1. Drain the cooling system as described in Chapter 1.
2. Loosen the hose clamps and separate the upper and lower hoses from the radiator (see figure 4.2,a,b).
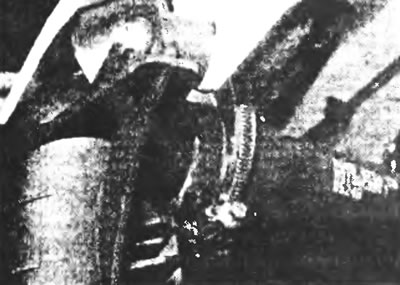
Figure 4.2a. Loosen the mounting clamps and disconnect the upper...
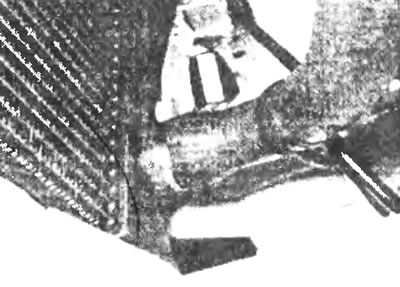
Figure 4.2b.... and the lower radiator hoses.
3. Loosen the clamp and separate the expansion tank hose from the radiator.
4. On turbocharged engines, remove the four screws and fan shroud.
5. Remove the front grille together with the supporting pillar(s) by unscrewing the two screws (one on each side), and connectors at the top and in the opening above the license plate. Unhook the support post from its lower location and remove the grille (see figure 4.5,a,b) Disconnect the headlight wash hoses once the grille is removed.
Figure 4.5a. Upper bolt of the front grille support strut
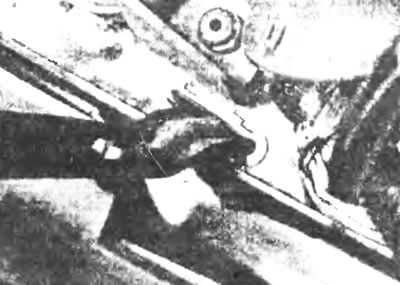
Figure 4.5b. Lower location of the support post.
6. Disconnect the transmission fluid cooling pipes. Seal loose connections to prevent dirt from entering and leaking.
7. Unscrew the two upper radiator retaining nuts, one on each side, and remove the radiator from the lower mounting bushings (see figure 4.7,a,b).
Models since 1995
8. Drain the coolant from the cooling system as described in Chapter 1.
9. Loosen the hose clamps, then separate the lower reservoir hose from the radiator and, where installed, the lower transmission fluid cooler pipe connection. Cap disconnected coolant connections and hoses to prevent contamination and leaks.
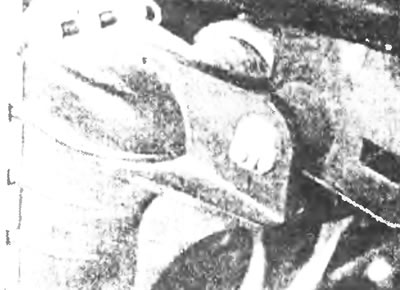
Figure 4.7a. Remove the two upper radiator retaining nuts.
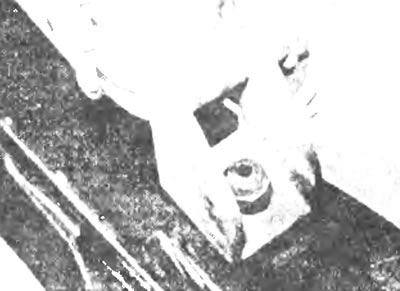
Figure 4.7b... and remove the radiator from the rubber bushings.
10. Remove the fan shroud bolts and radiator support beam clamp bolts.
11. Unscrew the two bolts at the top and two on the sides, and remove the radiator grille. Where installed, disconnect the headlight wash hoses once the grille is removed.
12. Unscrew the two upper radiator mounting nuts, one on each side.
13. Remove the plastic shield, then disconnect the hood lock cable from the upper cross member and the lock.
14. Unscrew the two bolts on each side and remove the upper cross member (see Figure 4.14).
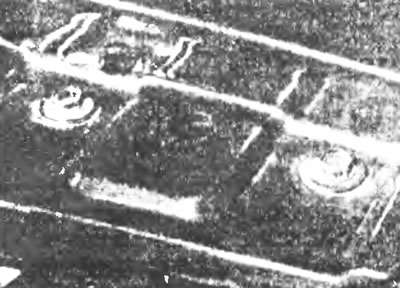
Figure 4.14. Unscrew the two bolts and remove the top cross member.
15. Loosen the hose clamps, then separate the upper radiator tank hose, the expansion tank hose and, where installed, the upper transmission fluid cooler pipe. Cap the open ends of the coolant lines to prevent dirt from entering and fluid from escaping.
16. On vehicles with air conditioning, disconnect the electric cooling fan multi-plug and unhook the cable from the radiator. Remove the radiator side shields, then separate the air conditioner radiator from the cooling system radiator by sliding it upward and remove it from the retaining brackets. Do not overstretch the hoses.
17. Separate the lower fan shroud and remove it from under the vehicle.
18. Lift the radiator and remove it from the lower support bushings.
Inspection
19. The radiator should be washed with a strong stream of water from a garden hose.
20. Due to the nature of the design, radiator repair should be left to a specialist. However, in an emergency, minor leaks can be repaired using a radiator sealant such as Holts Radweld.
Installation
All models
21. Reinstallation is carried out in the reverse order of removal, but note the following points:
- a) inspect and replace with new ones any clamps and hoses that are in poor condition;
- b) replace the lower radiator mounting bushings with new ones if they are in poor condition. Make sure the radiator engages the bushings completely when installed;
- c) Refill the cooling system with fluid as described in Chapter 1;
- d) For automatic transmission, add transmission fluid as described in Chapter 1.