2. Drain the coolant from the radiator (see chapter 1).
3. Remove the "screen" connected to the upper cross member.
4 Unscrew and remove the integrated control relay assembly (see section 4). Do not remove the electrical connector - put it aside.
5. Loosen the clamp and disconnect the upper hose from the radiator.
6. Disconnect the drain hose from the radiator filler neck.
7. Remove the generator inlet connector from the generator and disconnect it from the casing, then set it aside.
8. Remove the fan together with the casing (see section 4).
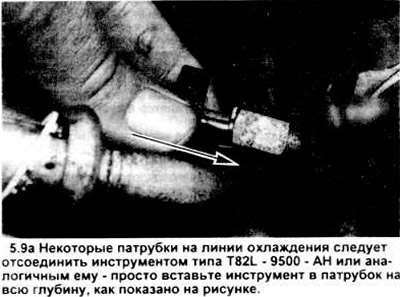
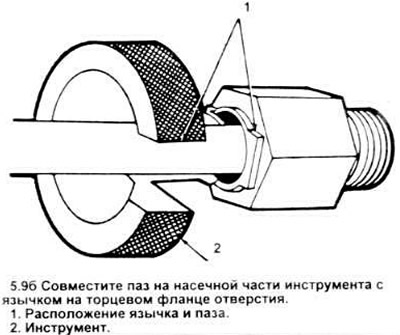
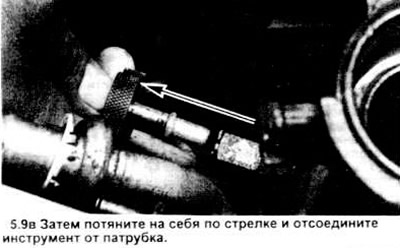
9. If the vehicle is equipped with an automatic transmission, disconnect the upper and lower oil cooler line hoses.
Note: Some vehicles are equipped with special pipes that should be disconnected only with a special tool T82L - 9500 - AN (see figure) Close the pipes and pipes with caps to avoid leaks.
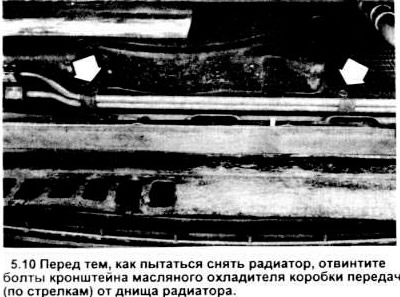
10. Moving down, unscrew the two bolts of the bracket securing the transmission oil cooling pipes to the bottom of the radiator (see figure).
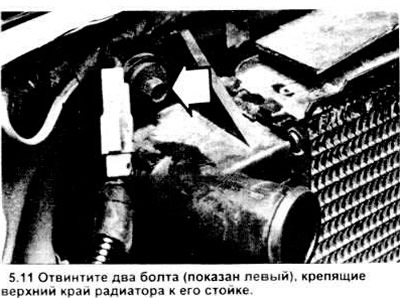
11. Unscrew the two bolts securing the top of the radiator to the support (see figure). Remove the radiator from the car.
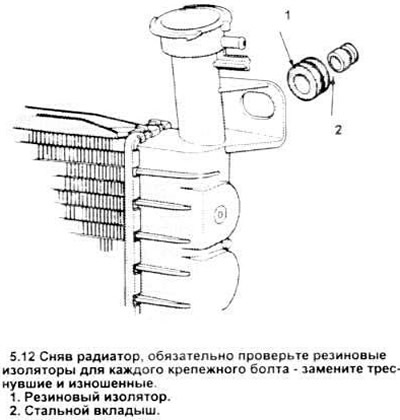
12. Check for possible damage to the upper bushings of the radiator nylon tank. Replace if necessary (see figure).
13. Installation is carried out in the reverse order of disassembly. Make sure that the plastic pads of the radiator tank bottom are on rubber supports.
14. After completing the installation, add coolant to the system (see chapter 1).
The original article is posted at [FORDBOOK]