Contents: Examination ↳ Replacing the air filter and housing… ↳ Replacing the air pulse valve on CVH… ↳ Replacing the Air Pulse Control… ↳ Replacing the air pulsation valve,… ↳ Replacing the air pulsation solenoid… ↳ Replacing the air pulsation line on… ↳ Replacing the air pulsation line on… ↳
Examination
An erratic idle, stalling or backfiring can be caused by damage to the air pulsation system.
Inspect the vacuum tube for cracks and other defects along its entire length. Replace the tube if necessary.
Inspect the air filter housing and piping.
If you suspect a faulty air pulse valve, disconnect the electrical connector and remove the vacuum hoses from the valve. Connect an additional wire from the battery to the valve and check that air passes through the valve. When disconnecting the battery from the valve, no air should pass through the valve.
Replacing the air filter and housing on CVH engines
Remove the air filter cover and take out the filter element (see Fig. 4E.23).
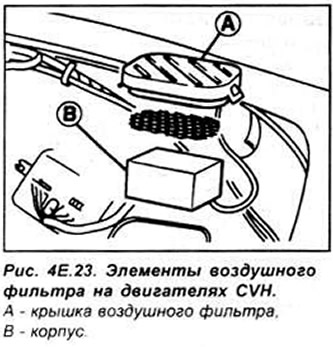
Installation is carried out in the reverse order of removal.
Replacing the air pulse valve on CVH engines
Remove the negative terminal from the battery.
Disconnect the vacuum hoses from the valve (see Fig. 4E.24).
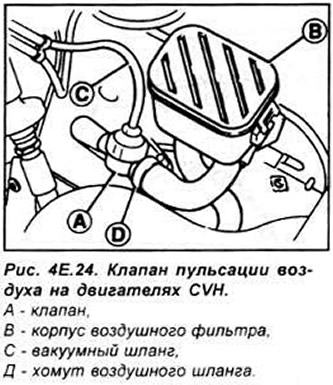
Loosen the air hose clamp and separate the hose from the valve.
Disconnect the second air hose from the valve, paying attention to the orientation of the valve and remove it from the car.
Installation is carried out in the reverse order of removal.
Replacing the Air Pulse Control Valve on CVH Engines
Remove the negative terminal from the battery.
Disconnect the air hoses from the check valve (see Fig. 4E.25).
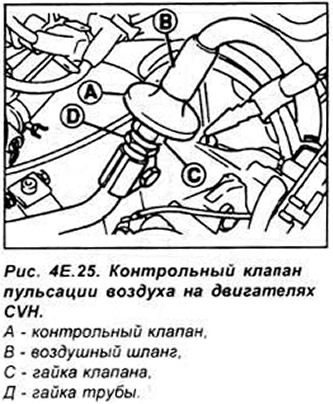
While holding the lower nut of the pipe 8 at the base of the valve with a wrench, use a second wrench to unscrew the valve by the valve nut.
Installation is carried out in the reverse order of removal.
Replacing the air pulsation valve, filter and housing on Zetec engines
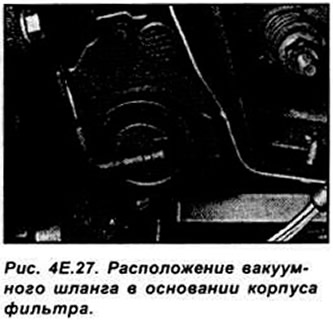
Remove the negative terminal from the battery. Raise the front of the vehicle and secure it on stands. Disconnect the vacuum hose from the base of the filter housing (see Fig. 4E.27).
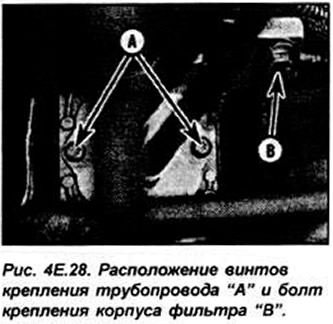
Remove the engine air supply pipe system. Unscrew the housing mounting screws and remove it (see Fig. 4E.28).
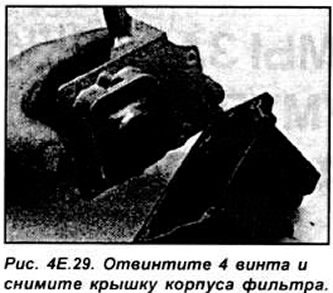
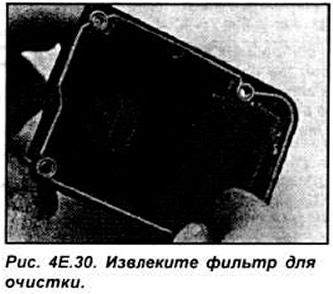
To remove the filter housing, unscrew the 4 screws and remove the cover from the housing. Remove the filter and clean it in a suitable solvent (see Fig. 4E.29, 4E.30).
Installation is carried out in the reverse order of removal.
Replacing the air pulsation solenoid valve
Remove the negative terminal from the battery. Remove the electrical connector. Remove the valve from the suspension. Label and disconnect the vacuum hoses from the valve. Installation is the reverse of removal.
Replacing the air pulsation line on HCS and CVH engines
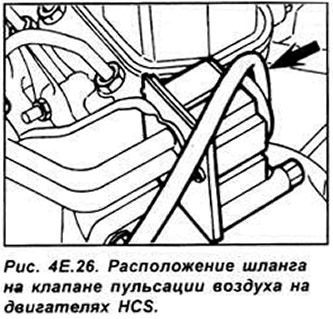
Remove the negative terminal from the battery. Remove the air filter for better access. Disconnect the vacuum hose from the valve.
Unscrew the bolt and remove the pipe connecting the exhaust manifold, cylinder head and gearbox.
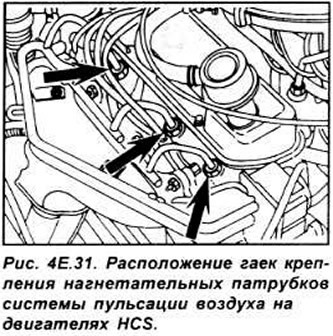
Unscrew the 4 nuts securing the air injection pipes to the cylinder head intake ports and remove the injection pipes entirely (see Fig. 4E.31).
Thoroughly clean the discharge pipes and remove all traces of corrosion to ensure tightness of the connections after installation of the pipes. Installation is carried out in the reverse order of removal.
Replacing the air pulsation line on Zetec engines
Remove the negative battery terminal. Remove the engine air intake duct system for better access.
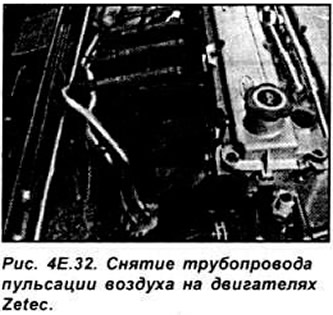
Remove the exhaust manifold heat shield mounting bolt. Raise the front of the vehicle and secure it on stands. Disconnect the vacuum hose at the base of the air filter housing. Remove the 2 bolts securing the pipe to the suspension and the 4 nuts securing the pipes to the intake manifold. Remove the pipes and filter housing as a whole (see Fig. 4E.32).
Thoroughly clean the pipeline and remove all traces of corrosion to ensure tight connections after installation of the pipeline.
Installation is carried out in the reverse order of removal.
Information for this article was taken from the website: FordBook