Contents: Headlights ↳ Front side light. All models except… ↳ XR3i Models ↳ Front Direction Indicator. Pre-1996… ↳ Models since 1996 ↳ XR3i Models ↳ Side direction indicators ↳ Front fog lights. Models from 1996 ↳ XR3i Models ↳ Reversing lights. Hatchback and… ↳ Combi models ↳ Van models ↳ License plate light ↳ Rear fog lights (models from 1993) ↳
Before replacing exterior light bulbs, check the associated electrical circuit and fuse.
Warning. Do not touch the glass bulb of the lamp with bare hands. The fingerprint evaporates and settles on the reflector, resulting in poor lighting. Be sure to replace defective lamps with lamps of the same type. Wipe off any accidental touch stains with a clean, lint-free cloth or alcohol.
Headlights
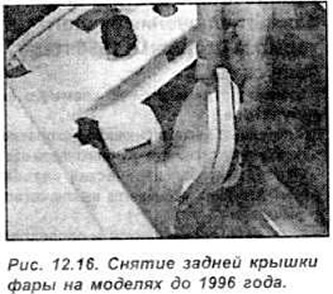
On vehicles manufactured before 1996, compress the spring and remove the rear cover from the headlight (see Fig. 12.16).
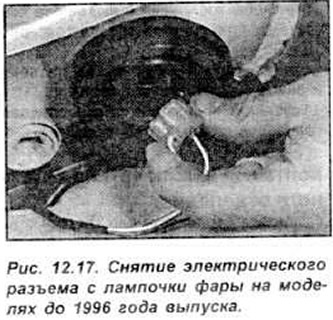
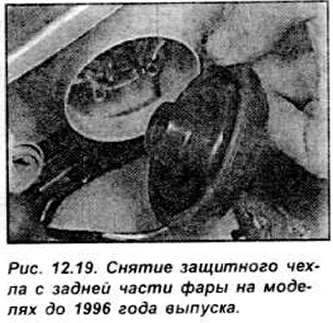
Remove the electrical connector from the headlight bulb. On vehicles prior to 1996, remove the protective cover from the rear of the headlight (see Fig. 12.17-12.19).
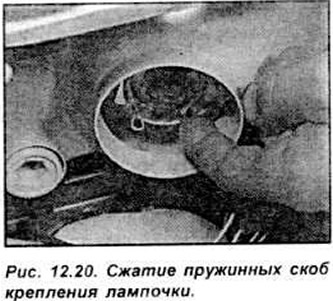
Compress the spring clips holding the bulb in place and fold the clips to the side (see Fig. 12.20).
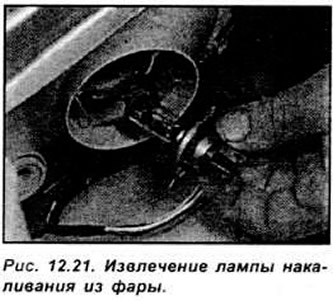
Remove the bulb from the headlight (see Fig. 12.21).
Front side light. All models except XR3i
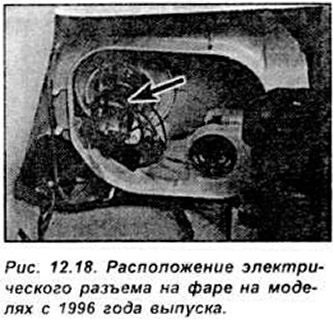
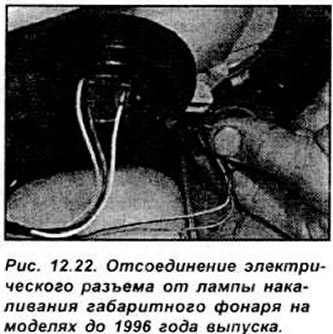
On pre-1996 models, compress the spring and remove the cover from the rear of the headlight. On 1996 and later models, compress the clip securing the wire and disconnect the electrical connector from the parking light (see Figure 12.22).
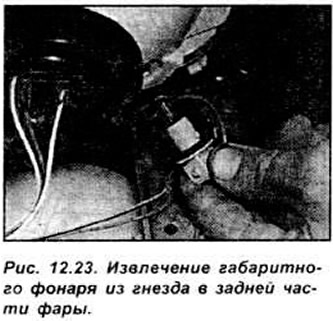
Pull the side light towards you and remove it from the socket at the rear of the headlight (see Fig. 12.23).
Remove the incandescent light bulb from the socket.
Install the new bulb in the reverse order of removal.
XR3i Models
Disconnect the retaining spring from the rear of the parking light and pull the light forward. Remove the socket with the bulb from the parking light. Press and turn the bulb to remove it from the socket. Install the new bulb in the reverse order of removal.
Front Direction Indicator. Pre-1996 models except XR3i
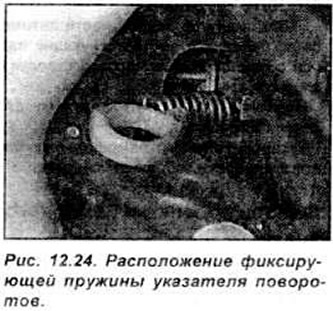
Disconnect the retaining spring from the rear of the turn signal lamp and move the lamp forward (see Fig. 12.24).
Remove the bulb holder from the front turn signal.
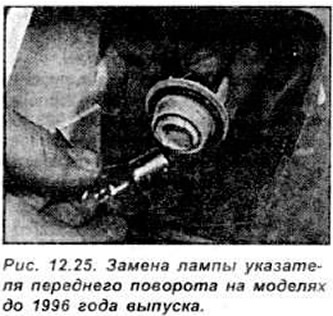
Press and turn the lamp to remove it from the socket (see Fig. 12.25).
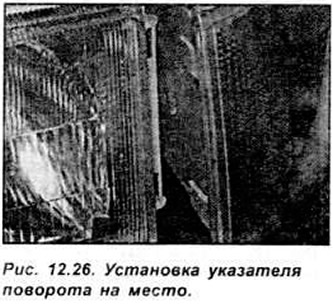
Install the new bulb in the reverse order of removal. Install the turn signal in the socket near the headlight and secure it with the spring (see Fig. 12.26).
Models since 1996
Turn the turn signal bulb holder counterclockwise and remove it from the rear of the headlight.
Press and twist the bulb to remove it from the socket.
Install the new bulb in the reverse order of removal.
XR3i Models
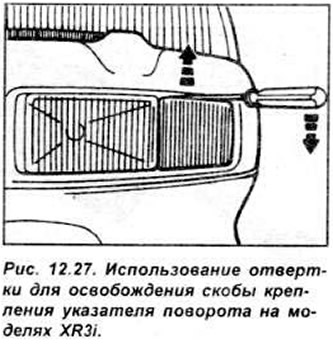
Insert a thin screwdriver between the top edge of the turn signal and the bumper and release the mounting bracket (see Fig. 12.27).
Remove the turn signal from the bumper.
Turn the bulb holder and remove it from the rear of the turn signal.
Remove the old light bulb and install a new one.
Insert the turn signal into the bumper until it is secured with the mounting bracket.
Side direction indicators
Turn the lamp housing to the right and remove it from the wing, or use a lever, carefully removing the lamp housing from the wing.
While holding the lamp holder, turn the housing to the left and remove it. Remove the lamp from the holder (see Fig. 12.28).
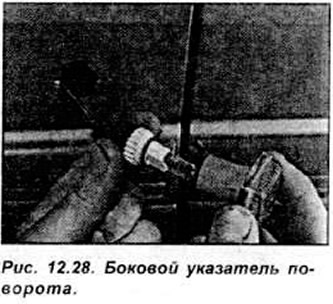
The lamp is installed in the reverse order of removal.
Front fog lights. Models from 1996
Working under the front bumper, remove the protective cap from the rear of the headlight.
Press the retaining clip outward and remove the fog light.
Disconnect the electrical connector and remove the light bulb.
Install the new bulb in the reverse order of removal.
XR3i Models
Remove the front turn signal. Compress the front turn signal mounting spring and release the side mount of the fog lamp. Pull the lamp forward (see Fig. 12.29).
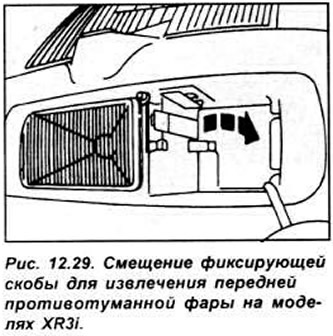
Remove the bulb holder from the headlight.
Installation is carried out in the reverse order of removal.
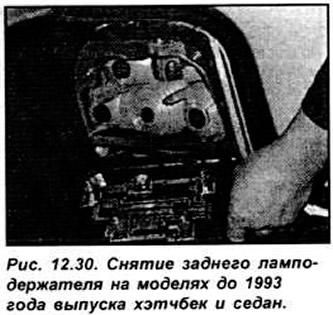
Reversing lights. Hatchback and sedan models
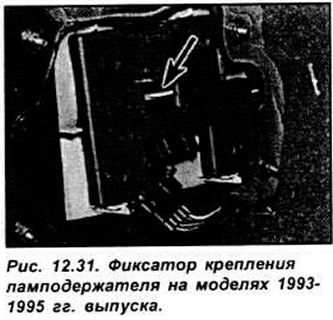
On pre-1993 models, press the locking tab toward the center and pull out the bulb holder. On 1993-1995 models, press the 2 locking tabs and pull out the bulb holder. Disconnect the electrical connector from the bulb holder (see Fig. 12.30, 12.31).
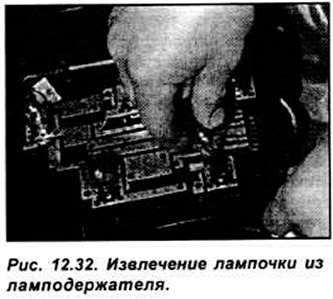
Press and twist the bulb to remove it from the bulb holder (see Fig. 12.32).
Install the new bulb in the reverse order of removal. Connect the electrical connector. Check the functionality of the reverse lights.
Combi models
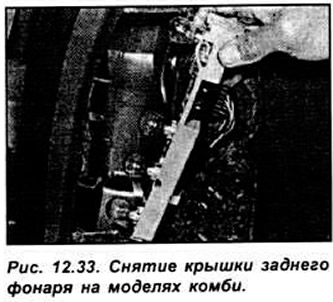
Remove the rear light cover (see Fig. 12.33).
Press and twist the bulb to remove it from the bulb holder.
Install the new bulb in the reverse order of removal.
Van models
Working inside the rear of the vehicle, turn the appropriate bulb holder counterclockwise and remove it.
Press and twist the bulb to remove it from the socket.
Install the new bulb in the reverse order of removal.
License plate light
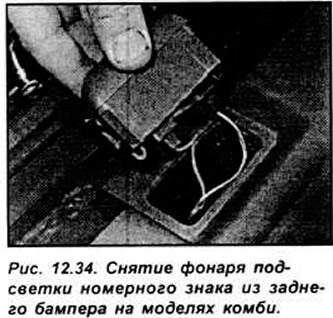
Using a screwdriver, remove the license plate light from the rear bumper (see Fig. 12.34).
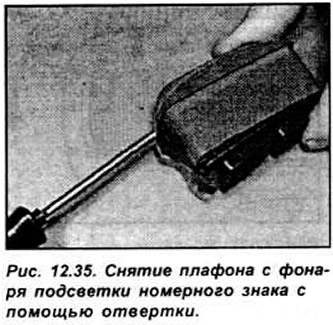
Disconnect the electrical wires from the license plate light. On hatchback, saloon and estate models, press the release and remove the plastic cover from the license plate light. Press and turn the bulb to remove it from the light (see Fig. 12.35, 12.36). To replace the bulb on van models, turn the socket with the bulb counterclockwise and remove it.

The installation of a new light bulb is carried out in the reverse order of removal.
Rear fog lights (models from 1993)
Open the rear door and remove the interior trim to access the light bulb.
Turn the socket with the bulb counterclockwise and remove it from the socket. Remove the bulb from the socket. Installing a new bulb is done in the reverse order of removal.