Elements of the center console
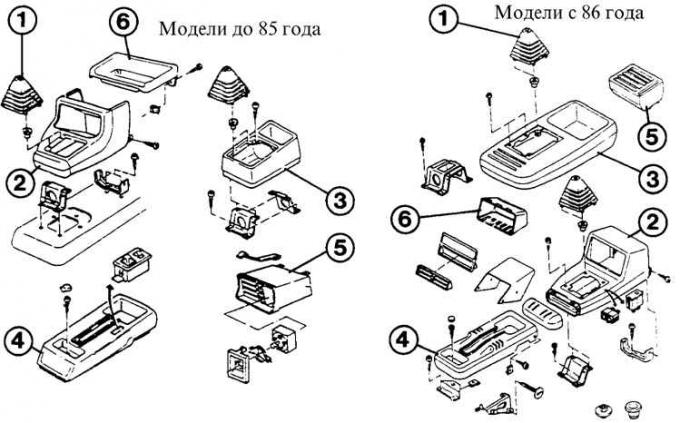
1 – lever cuff; 2 – console for radio equipment; 3 – center console; 4 – console extension; 5 – cassette box; 6 – plug
Back of instrument cluster pre-1985
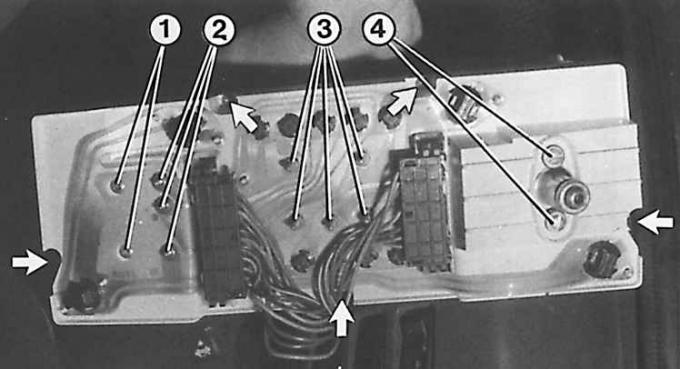
1 – tachometer mounting screws; 2 – tachometer connection contact nuts; 3 – nuts for fastening and connecting temperature and fuel indicators; 4 – speedometer mounting nuts
1. Remove the ground wire from the battery.
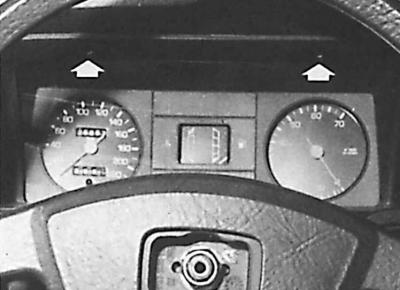
2. Unscrew the two screws securing the upper part of the dashboard, pull the upper part towards you, at the same time use a screwdriver to lift the lower part (to release the plastic clips) and pull the dashboard towards you. The lower plastic clips are located at the bottom of the dashboard directly opposite the upper fastening screws (the arrows show the screws securing the instrument cluster dashboard).
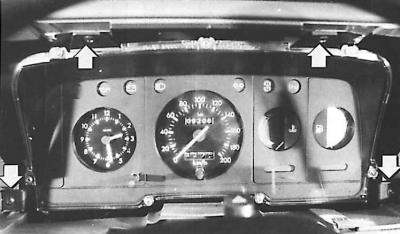
3. Unscrew the 5 screws (indicated by arrows) securing the instrument cluster.
4. Remove the lower instrument panel trim.
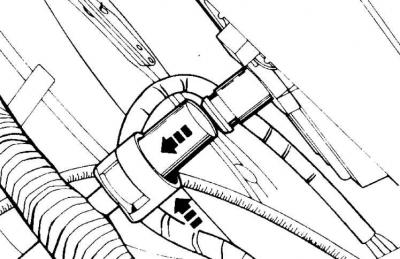
5. Remove the speedometer drive shaft from below by pressing on one side of the retaining ring and removing the shaft.
6. From the inside, push out the instrument cluster, turn it and remove the 2 connectors.
7. Installation is carried out in the reverse order of removal.
The original article is posted at [FordBook]