2. Before starting the procedure, prepare all the necessary tools. It is necessary to have a sufficient number of clean rags and old newspapers on hand to collect any oil that may be spilled during the procedure. To avoid scalding and to protect yourself from possible harmful contamination and skin irritation from motor oil, it is advisable to wear gloves.
3. The best access to the underside of the vehicle is provided by lifting it with a winch, driving it onto an overpass, or placing it on supports.
4. If you are going to change the engine oil for the first time, get under the car and familiarize yourself with the location of the engine oil drain plug in the pan. The engine and exhaust system components will be hot during operation, so try to prevent any potential problems while the engine and related systems are still cold.
5. It is preferable to change the oil when the engine is warm and has recently been running (the temperature gauge shows "Normal"), since warm oil drains more easily without leaving residue. With the vehicle on a level, horizontal surface, apply the parking brake and shift the gearshift lever into 1st gear or reverse (manual transmission) or in position P (automatic transmission). With the hood open, remove the engine oil filler cap from the cylinder head valve cover and pull the oil level dipstick out of the tube (see Section 3).
6. There is plenty of room to work under the vehicle, but if you require more freedom, raise the front of the vehicle and support it on stands.
Caution: It is dangerous to work under a vehicle supported by a jack alone, as the jack supplied with the vehicle is designed solely for removing or installing wheels. To work safely under a vehicle, it must be supported on supports.
7. Carefully, without touching hot exhaust system components, place a drain pan under the drain plug and unscrew it (see Figure 12.7). If possible, push the plug into the pan on the last couple of turns. After unscrewing the plug, quickly pull it out so the oil drains into the drain container without spilling! Check the condition of the plug's sealing washers and replace them with new ones if they are worn or damaged.
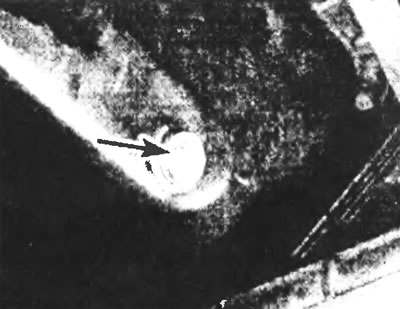
Figure 12.7. Location of the engine drain plug.
8. Allow the old oil to drain completely, using a second container to catch the drain if necessary. Once the oil has drained, wipe and clean the drain plug and pan threads and reinstall the plug, tightening to specification.
9. Position a drain pan under the oil filter and then, using a suitable special tool if necessary, unscrew the oil filter from the cylinder block (see Figure 12.9); please remember that this may cause oil to spill. If the filter's rubber O-ring is stuck to the engine, carefully remove it. Pull the filter through the wheel arch, trying to spill as little oil as possible.
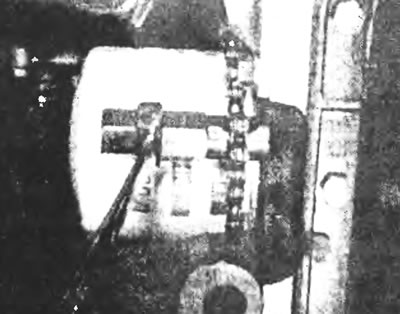
Figure 12.9. Using a suitable special tool, unscrew the oil filter from the cylinder block.
10. Using a clean, lint-free cloth, wipe the cylinder block around the filter mount clean. If installation instructions are not included with the new filter, install the oil filter as follows. Apply a thin layer of clean engine oil to the filter O-ring (see Figure 12.10). Screw the filter into the engine until you feel resistance, then tighten it 1/2-3/4 of a turn. Tighten the filter by hand only, without using any tools.
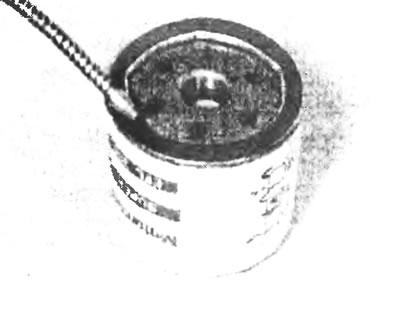
Figure 12.10. Apply a thin layer of clean engine oil to the oil filter O-ring.
11. Remove all tools and containers for draining from under the car: if you raised the car, lower it to the ground.
12. Fill the engine with only the recommended brand of oil as indicated in Specifications Section of this Chapter. First, pour in half the specified amount of oil, then wait a few minutes to allow the oil to drain into the pan. Add oil in small portions until its level reaches the lower mark on the dipstick. By adding another half a liter to a liter of oil, you will raise its level to the upper mark on the dipstick.
13. Now start the engine. The low oil pressure indicator will remain on for a few seconds while the new filter fills with oil; do not give full throttle while the indicator is on. Let the engine run for a few minutes and during this time check the oil filter seal and drain plug for leaks.
14. After turning off the engine, wait a few minutes to allow the oil to drain into the engine sump. Now that the new oil has spread throughout the engine and filled the filter, check the level again with the dipstick and top up if necessary.
15. Dispose of old engine oil properly (see section "General repair procedures" in the introductory part of this guide).
This article was borrowed from the website: FORDBOOK