Withdrawal
Raise the front of the car and secure it on stands. Remove the corresponding front wheel.
Loosen the tie rod end locknut by turning it j turns. At the same time, hold the tip from turning with another wrench.
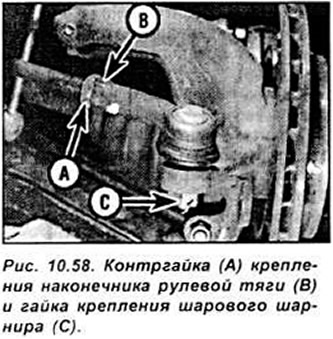
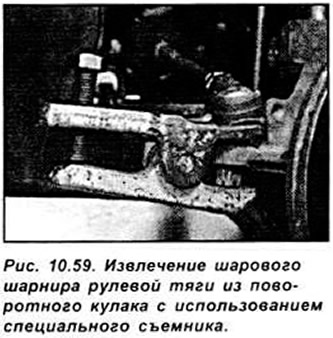
Remove the ball joint lock nut retaining pin. If the ball joint tip needs to be replaced, fully unscrew the lock nut securing the ball joint to the steering knuckle. To remove the ball joint of the tie rod end of the steering knuckle, use a special ball joint remover. When removing the ball joint, be careful not to damage the rubber dust boot (see fig. 10.59).
Count the number of threads visible on the inside of the tie rod.
Unscrew the tie rod end from the tie rod, counting the number of turns of the tie rod end until it is completely unscrewed.
Installation
Screw the tip onto the tie rod the number of turns that was counted or until it contacts the lock nut remaining on the tie rod. Tighten locknut.
Install the tie rod end ball joint into the steering knuckle and secure with the lock nut. Secure the lock nut against unscrewing with a pin.
Install the wheel and lower the car.
Check the front wheel alignment.
Visitor comments