Contents: Removal. Front seats ↳ Removal. Rear seat cushion ↳ Removal. Backrest of the rear seat ↳ Installation ↳
Removal. Front seats
Caution: On vehicles with automatic seat belt tensioners, care must be taken when working on the tensioner, which contains a powerful spring in a compressed state. Use the safety clip to lock the spring.
Attention. On vehicles with a pyrotechnic seat belt tensioner, it is necessary to remove the negative terminal from the battery and start work no earlier than after 2 minutes.
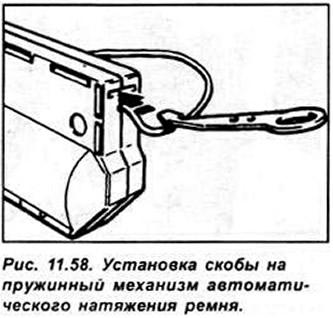
Remove the interior trim opposite the front door opening. On vehicles with a spring-loaded automatic belt tensioner, install the bracket into the mechanism (see Fig. 11.58). On vehicles with a pyrotechnic spring-loaded automatic belt tensioner, disconnect the electrical connector located under the interior trim.
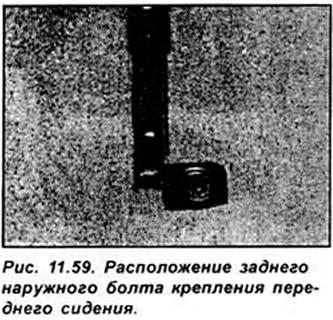
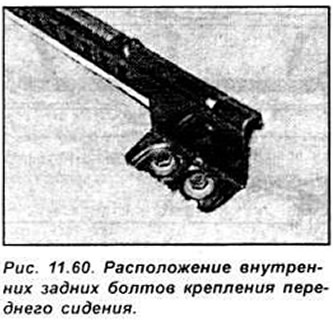
Move the front seat forward as far as it will go. Unscrew the rear bolts securing the front seat (see Fig. 11.59, 11.60).
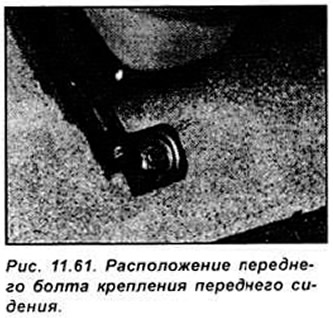
Move the front seat as far back as it will go, unscrew the bolts securing the front part of the seat and remove the seat (see Fig. 11.61).
Removal. Rear seat cushion
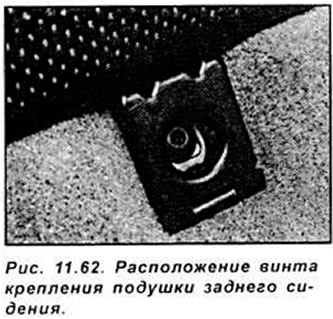
Using a lever, remove the plugs from the rear seat cushion mounting hinges. Unscrew the screws on both sides of the cushion and remove the cushion from the vehicle (see Fig. 11.62).
Removal. Backrest of the rear seat
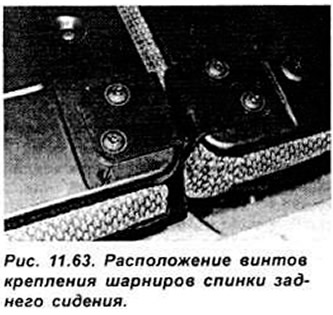
Lift up the rear part of the rear seat cushion. Fold the back of the rear seat forward. Unscrew the 4 hinge mounting bolts (see Fig. 11.63). Remove the back of the rear seat from the car.
Installation
Installation is carried out in the reverse order of removal.
[For details, please visit the website: www.fordbook.ru]