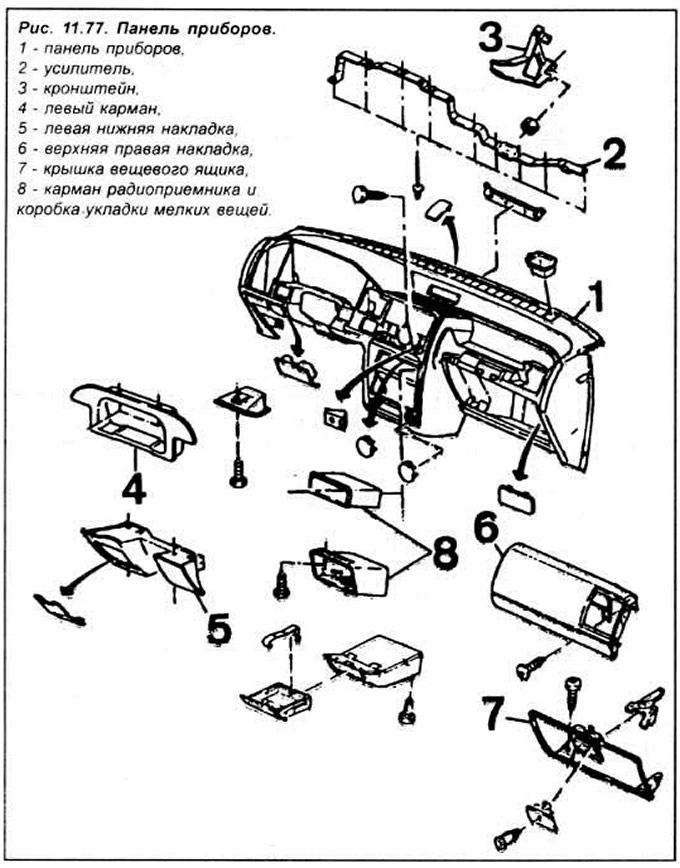
Withdrawal
Models up to 1996 release
Remove the negative terminal from the battery.
Remove the steering wheel. Remove the 2 upper and 4 lower screws and remove the upper and lower steering column covers. Refer to the relevant sections of the manual and remove the following panel-related items:
- multifunction steering column switch;
- instrument cluster;
- air damper control cable;
- heating and ventilation control panel;
- cigarette lighter and ashtray;
- radio;
- watch.
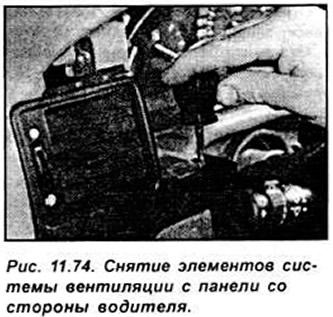
Unscrew the 2 screws and remove the elements of the ventilation system from the panel on the driver's side (see fig. 11.74).
Unscrew the 2 screws securing the glove box lid hinge. Unscrew the 2 latch fixing screws and remove the glove box latch. If equipped, disconnect and remove the illumination of the lower panel on the driver and passenger side.
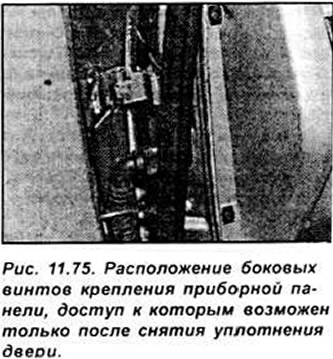
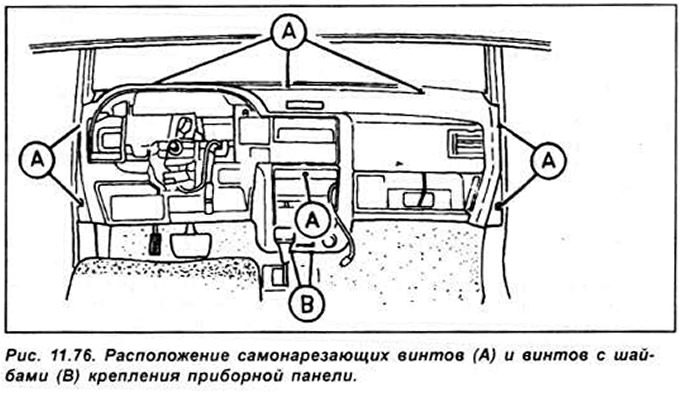
Remove the front door seal near the instrument panel. Remove the screws securing the instrument panel (see fig. 11.75, 11.76).
With the help of an assistant, remove the panel inside the passenger compartment, mark the location of the cables and wire harnesses, separate them from the instrument panel and remove the panel.
Models since 1996 release
Remove the negative terminal from the battery. Remove the steering wheel.
Unscrew the screw and remove the multifunction switch from the steering column upwards. Remove the electrical connector from the switch. Disconnect the 3 electrical connectors located at the rear of the removable lower instrument panel. Remove the backlight of the lower panel on the driver and passenger side. Remove the radio. Remove the interior side front trim by turning the front trim retaining clip 90°and releasing the rear trim from the spring clips. Remove the door seal near the front panel.
Unscrew the bolt securing the hood ground bus under the instrument panel on the driver's side. Remove the fuse box from the bottom of the panel. Disconnect the 3 electrical connectors from the relay group on the top of the box. Disconnect the 2 electrical connectors adjacent to the engine compartment on the driver's side.
Disconnect the cables from the heater control panel. Remove the central console.
Using a lever, remove the decorative trims covering the 3 screws securing the upper part of the dashboard adjacent to the windshield. Remove the 3 screws securing the instrument panel. Using a lever, remove the trim from the top edge of the radio socket and unscrew the screw located under the trim. Unscrew the side screws securing the instrument panel and the screw located below the ashtray. Disconnect the speedometer cable from the fastening bracket on the bulkhead in the engine compartment.
Move the gear lever back and remove the panel inside the passenger compartment. Disconnect the speedometer drive cable and all electrical connectors from the panel. Remove the panel from the steering column and remove it from the vehicle.
Installation
Installation is made in sequence, return to removal. Check that all electrical wires and cables are properly located and securely connected.
After the dashboard is fully installed, connect the battery and check the operation of all instruments and switches.
Visitor comments