Warning: On vehicles equipped with seat belts whose buckles are installed on automatic tensioners, use extreme caution when removing and installing the seat - the automatic tensioner contains a powerful spring that could cause injury if the load cell is accidentally activated. The tensioning mechanism must first be "disarmed" with a special clamp called "transit clip", and can be purchased from a Ford dealer.
Front driver's seat
Removal
1. On later vehicles that have side interior trim panels, remove the screws at the front and rear and remove the side trim.
2. If the seat belt is equipped with an automatic belt tensioner, "disarm" the tensioner mechanism by inserting the clip "transit clip", and then unhook the cable from the seat guides.
3. If the vehicle has electrically controlled or heated seats, disconnect the multi-plug connectors from the seats.
4. Slide the seat forward as far as it will go, then remove the two Torx bolts from the seat rail, if present.
5. Move the seat as far back as it will go, then remove the four Torx bolts, if present.
6. Unscrew the four retaining nuts, then remove the seat (see Figure 32.6).
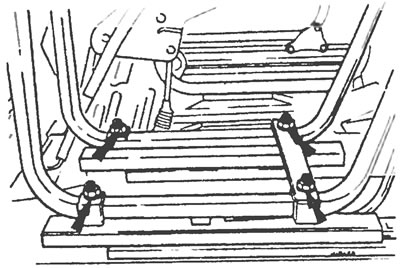
Figure 32.6. Retaining nuts securing the front seat.
Installation
7. Installation is carried out in the reverse order of removal. Tighten the bolts to the specified torque.
Front bench seat
Removal
8. On later year vehicles that have side trim panels, remove these panels by unscrewing the screws at the front and rear.
9. If the seat belt is equipped with an automatic belt tensioner, "disarm" the tensioner mechanism by inserting the clip "transit clip".
10. Unscrew and remove four, six or seven bolts (depending on the model), which secure the seat to the floor (see Fig. 32.10, a, b).
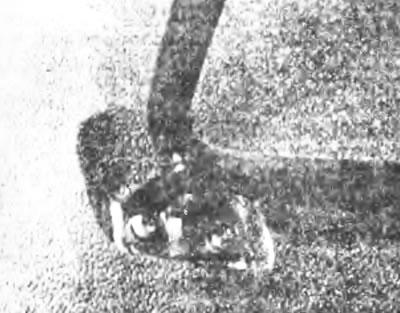
Figure 32.10,a. Fastening the front seat front support bracket to the floor.
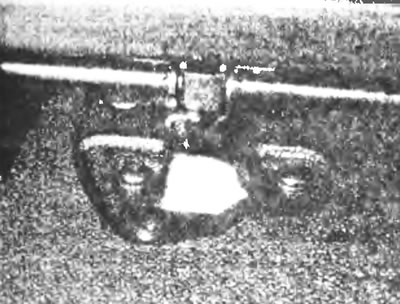
Figure 32.10,b. Fastening the rear support bracket of the front seat to the floor.
11. Cut the plastic straps securing the seat belt buckle to the frame and detach the seat travel limiter (see figure 32.11,a,b).
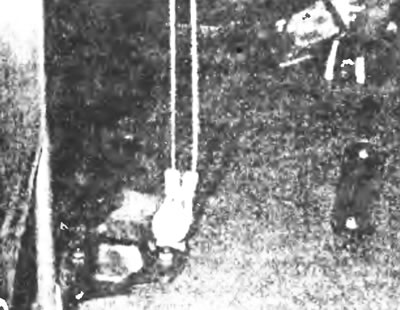
Figure 32.11,a. Fastening the seat travel limiter to the floor.
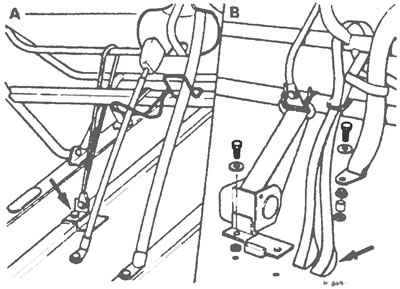
Figure 32.11,b. Different types of seat travel limiters: A - In case of double in front of his seat; B - in case of a single front seat.
12. Remove the seat, passing the seat belts and lock posts through it.
Installation
13. Installation is carried out in the reverse order of removal. Tighten the retaining bolts to the specified torque.
Rear seats
14. Depending on the type and specification of the vehicle, it may be equipped with a wide variety of rear seats. The procedures for removing and installing the rear seats are essentially the same as those described above for the front bench seat (ignore references to a seat belt equipped with an automatic mechanism).
(The text of the article was copied from the website: fordbook)