Contents: Removal ↳ Installation ↳
Note: A new oil pan gasket must be installed during installation.
Removal
1. Disconnect the negative battery cable.
2. With the parking brake applied, jack up the front of the vehicle and place it on supports (see "Raising the vehicle with a jack and placing it on supports").
3. Drain the oil from the engine as described in Chapter 1 and install the oil pan drain plug in place
4. For engines with a rack and pinion steering gear, loosen the two nuts and remove the two bolts securing the steering gear to the crossmember, then move the steering gear as far forward as possible.
5. Remove the front clutch housing cover, if present, by unscrewing the two bolts.
6. On turbocharged engines, disconnect the turbocharger oil return line from the oil pan.
7. Remove the two socket head bolts on the rear wall of the oil pan using a suitable socket head and a swivel extension (with a minimum working clearance).
8. Remove the two remaining socket head cap screws on the front of the oil pan.
9. Then unscrew the remaining 16 hex bolts, remove the stiffeners (if they separate from the pallet), then release and lower the tray itself. If the oil pan is stuck to the engine, cut around the flange gasket with a sharp knife, then release the oil pan by tapping it lightly. When lowering the pan, keep it straight to prevent any remaining oil from spilling out. Also, be prepared for oil to drain from the cylinder block.
10. Remove dirt and old gasket residue from the mating surfaces of the oil pan and engine crankcase and thoroughly wash the oil pan before installation. Make sure the mating surfaces of the oil pan are not damaged. Check that the oil pan filter is clean and clean it if necessary.
Installation
11. On early model engines with a split oil pan gasket, apply sealant to both edges of the gasket, especially around the dovetail joints and edge areas, then install the gasket onto the oil pan.
12. On late model engines with a solid rubber gasket, sealant should be applied to the areas where the rear seal bracket and the engine intermediate plate contact the cylinder block (see Figure 12.12, a). Apply sealant to the oil pan and cylinder block, then install the gasket; in this case, the mounting ears should be directed downwards (i.e. in the opposite direction from the cylinder block) (see Figure 12.12,b).
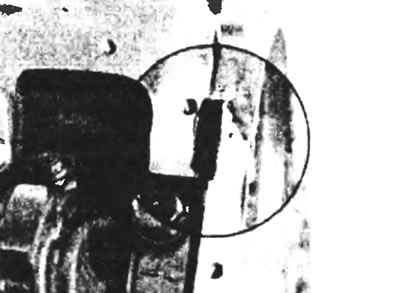
Figure 12.12,a. Place of application of sealant in engines with a solid rubber gasket.
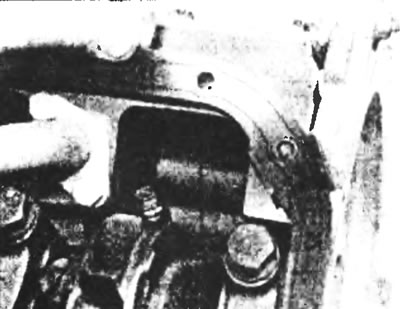
Figure 12.12,b. Install the gasket with the mounting tabs facing down (from the cylinder block).
13. Once the tray is in place, install the stiffeners and fixing bolts. Tighten the bolts first by hand and then to the specified torque in a diagonal sequence.
14. On turbocharged engines, connect the turbocharger oil return line to the oil pan.
15. Install the front clutch housing cover.
16. On models with rack and pinion steering gear, install the steering gear onto the crossmember and secure with two nuts and bolts, tightening them to the specified tightening torque (see chapter 10).
17. After tightening the drain plug to the specified torque, lower the vehicle to the ground.
18. Fill the engine with the correct type and quantity of oil as described in chapter 1.
19. Connect the battery, start the engine and check for leaks.