Contents: Timing pulley of the camshaft ↳ Timing pulley of the camshaft ↳ Crankshaft pulleys ↳ Toothed pulley of the high-pressure… ↳ Timing belt tensioner mechanism for… ↳
Timing pulley of the camshaft
Removal
1. Remove the timing belt (see section 7).
2. Remove the dowel pin from the camshaft timing pulley - it should not be used if the retaining bolt is loose. Do not rotate the pulley, otherwise piston-valve contact may occur.
Timing pulley of the camshaft
Removal
1. Remove the timing belt (see section 7).
2. Remove the dowel pin from the camshaft timing pulley - it should not be used if the retaining bolt is loose. Do not rotate the pulley, otherwise piston-valve contact may occur.
3. Place the fork-shaped grip and engage the two bolts at the slotted ends of the camshaft timing pulley (see figure 8.8).
4. While holding the pulley stationary with a grip, unscrew the pulley retaining nut and remove it from the camshaft.
5. Remove the woodruff key from the camshaft (on engines of recent years, together with a sealing ring) (see Figure 8.5).
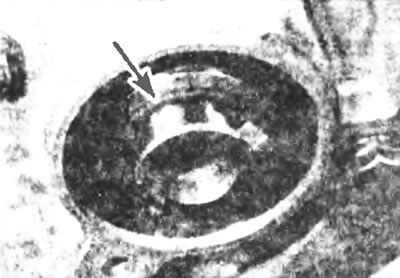
Figure 8.5. Remove the woodruff key from the camshaft (on engines of recent years, together with the sealing ring - indicated by the arrow).
6. Before installation, inspect the head of the toothed pulley fixing bolt. The bolt can be used no more than 6 times and each time it is removed, a mark should be made on its head with a punch. If there is no information about previous engine operation, it is better to replace the bolt with a new one. Remember that the sealing ring (mounted on the camshaft since 1989) it also needs to be replaced with a new one during installation.
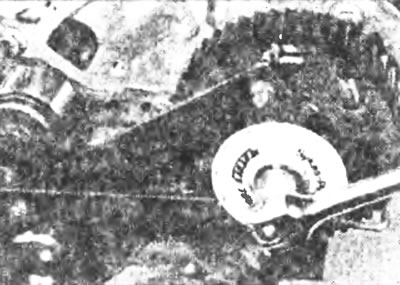
Figure 8.8: While holding the camshaft timing pulley with a fork, tighten the bolts to stage 2 using a bolt angle gauge.
Installation
7. Install a new sealing ring (if necessary) onto the end of the camshaft and position the woodruff key in the slot. On earlier engines without an O-ring on the camshaft, apply sealant to the pulley hub at the front and rear. Place the pulley on the camshaft.
8. Insert the locking bolt, tighten it to the torque specified in step 1, then tighten it further to the specified rotation angle. While holding the pulley from turning with a fork, using an angle gauge where possible, carefully tighten the bolts to stage 2 (see figure 8 8).
9. Insert the camshaft pulley installation pin.
10. Install the timing belt as described in section 7.
Crankshaft pulleys
Removal
11. Remove the large rubber plug in the middle of the crankshaft groove pulley.
12. On vehicles with a manual transmission, engage the highest gear and fully apply the parking brake. With an assistant pressing the brake pedal, loosen the bolt securing the crankshaft groove pulley using a suitable socket or (what is required for cars with automatic transmission?) remove the starter as described in chapter 5, and lock the flywheel ring gear teeth with a large screwdriver or other suitable tool until the bolt is loosened.
13. Remove the timing belt (see section 7).
14. Remove the pre-loosened bolt securing the crankshaft groove pulley, then remove the pulley block from the crankshaft. If it is difficult to remove, use a two-pronged puller. Remove the timing belt guide ring located behind the camshaft pulley and the woodruff key if it is not tightly fitted (see Figure 8.14).
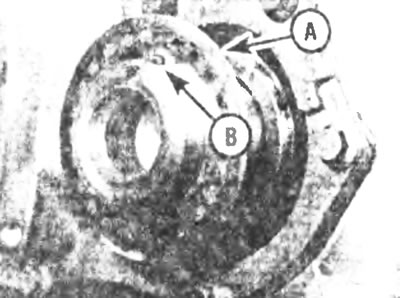
Figure 8.14. When removing the timing belt guide ring (A) behind the crankshaft pulleys, be careful not to damage the woodruff key (B).
Installation
15. Install the woodruff key (if it was removed) into the slot of the crankshaft, then put on the guide plate of the timing belt of the camshaft drive.
16. Place the timing belt in its place in the engine, making sure that the direction of rotation arrow points in the correct direction. After installing the crankshaft groove pulley, secure the timing belt into the teeth of the timing pulley and push the pulley into place (see Figure 8.16).
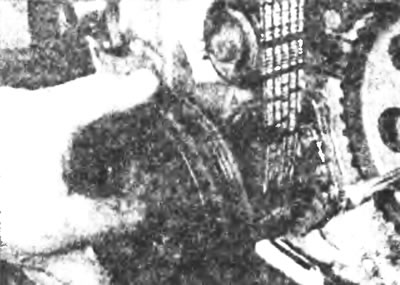
Figure 8.16. After placing the toothed drive belt in place, put on the crankshaft groove pulley
17. Install the groove pulley retaining bolt and tighten it securely at this stage. Final tightening of the bolt is easier to do after the remaining parts are installed.
18. After ensuring that the crankshaft timing pin is in place, install the engine timing belt as described in section 7.
19. Block the crankshaft in the same manner as for removal, then tighten the crankshaft groove pulley retaining bolt to the specified torque. Install the plug in the center of the pulley.
Toothed pulley of the high-pressure fuel pump
Removal
20. Remove the timing belt (see section 7).
21. Remove the dowel pin from the fuel pump toothed pulley, then remove the four bolts. Remove the retaining plate and the pulley itself (see Figure 8.21).
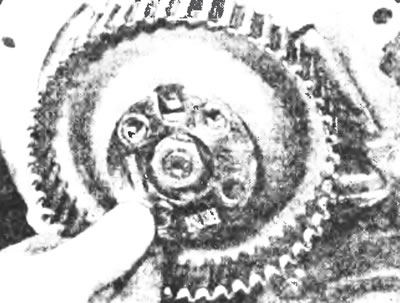
Figure 8.21. After removing the retaining plate, remove the high-pressure fuel pump toothed pulley.
Installation
22. Install the toothed pulley and then the retaining ring onto the fuel pump hub. Make sure the word "FRONT" is visible on the plate.
23. Install the four retaining bolts and tighten them hand tight at this stage.
24. Insert the fuel pump mounting pin through the U-shaped notch into the hole drilled behind it.
25. Install the timing belt as described in section 7.
Timing belt tensioner mechanism for the camshaft drive
Removal
26. Remove the timing belt (see section 7).
27. Unscrew the two bolts that secure the tensioner and remove it. Be careful not to lose the spring and its plate on the back of the tensioner plate (see Figure 8.27).
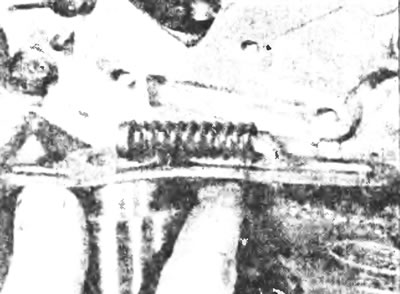
Figure 8.27. Spring and spring plate on the rear of the timing belt tensioner plate.
Installation
28. Before installation, lubricate the rear contact surface of the tensioner plate with high melting point grease.
29. Install the spring and its plate onto the rear of the tensioner, then reinstall the entire unit.
30. Install the two retaining bolts, then pull the tensioner away from the camshaft timing pulley against the spring pressure and tighten the bolts.
31. Install the timing belt as described in section 7.