Substitute container for a brake liquid under a compensation tank which is on the main brake cylinder.
Disconnect the flexible hose that connects the compensation tank to the adjustment unit located on the left side of the car (pic. 6.22).
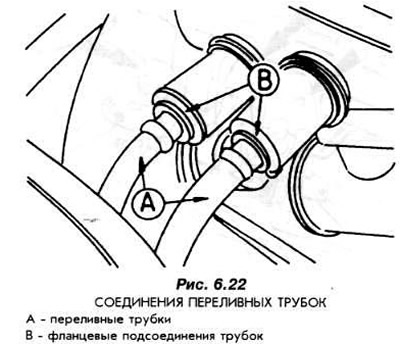
Disconnect tubing connections as follows:
- push the elastic hose into the depth of the tank,
- holding the flange firmly, carefully pull out the tubes.
Raise the car and remove the left front wheel.
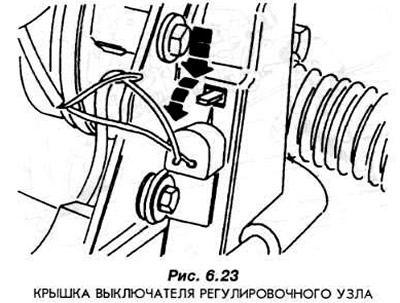
Remove the adjuster switch (From the left side), driven by the toothed belt, and also remove the belt drive cover (pic. 6.23).
Disconnect the hydraulic pipes from the adjuster.
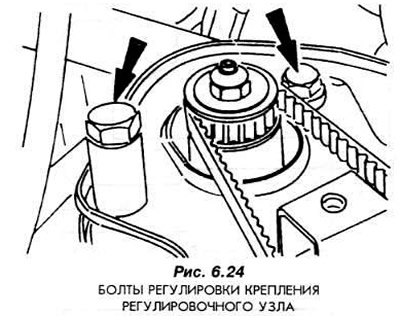
Unscrew the clamping bolt on the axis of the adjusting unit and tilt the unit down (pic. 6.24).
Remove the toothed belt.
Unscrew the adjustable axle bolts.
Pull up the adjuster.
Remove the elastic hoses from the overflow valve.
Close the hose openings immediately with plastic inserts. Close the valve holes.
The adjuster is installed in the reverse order. At the same time, absolute cleanliness of the work must be observed. The toothed straps must be tightened so that when pressed with the thumb, they bend by 5 mm. The brake system needs to be bled.
Visitor comments