Contents: Headlight ↳ Front parking lights ↳ Front direction indicator ↳ Side direction indicator ↳ Tail light ↳ Rear license plate light ↳
Note: Before disconnecting the wiring connectors to any exterior light bulbs, make sure. that all external lighting devices are turned off. The headlight, front parking light and turn signal bulbs are removed from inside the engine compartment with the hood raised.
Headlight
1. Disconnect the multi-pin connector from the back of the headlight and remove the rubber cover (see Figure 14.1).
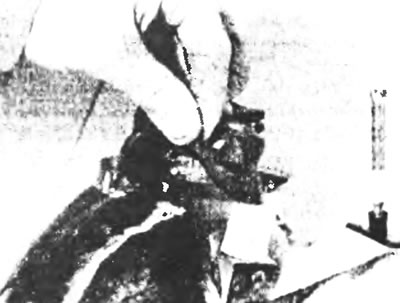
14.1 Disconnect the multi-pin plug from the back of the headlight and remove the rubber cover.
2. Release the socket clamp and remove the bulb (see figure 14.2,a,b)
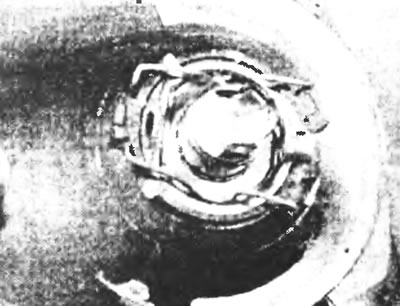
Figure 14.2,a. Release the light bulb holder clips...
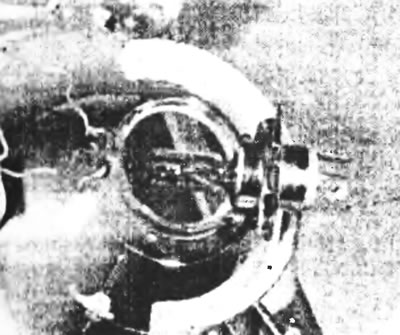
Figure 14.2, b....and remove the light bulb.
3. Install the new bulb in reverse order. Do not touch the glass of the light bulb with your fingers, as this will cause the light bulb to fail. If this does happen, wipe the bulb with a cloth soaked in methyl alcohol.
Front parking lights
4. After unscrewing the parking light bulb socket from the rear of the headlight, remove the bulb and holder (see Figure 14.4).
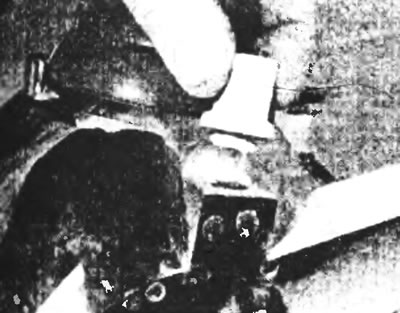
Figure 14.4. Unscrew the parking light bulb socket from the rear of the headlight, remove the bulb and holder.
5. Remove the light bulb from the socket
6. Install the new bulb in reverse order. Check its operation upon completion.
Front direction indicator
7. Pull down and unscrew the bulb socket from the rear of the turn signal (see Figure 14.7).
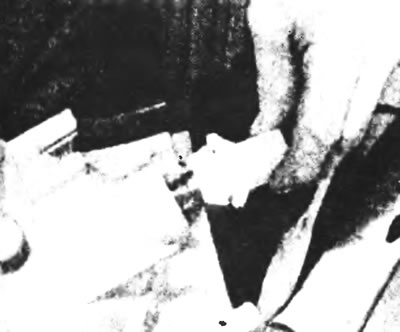
Figure 14.7. Removing the bulb holder from the rear of the front turn signal.
8. Remove the light bulb from the socket.
9. Install the new bulb in reverse order. Check its operation upon completion.
Side direction indicator
10. Pull the bulb socket out of the rear of the turn signal assembly, then remove the bulb from the socket (see Figure 14.10).
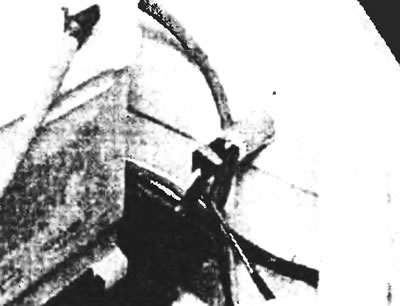
Figure 14.10. Location of the side turn signal.
11. Install the new bulb in reverse order. Check its operation upon completion.
Tail light
Van and minibus
12. On early models, remove the cover flap from the rear corner of the body to gain access to the light cluster. Unscrew and remove the corresponding bulb with socket from the rear light (see figure 14.12,a,b). On later models, unscrew the two plastic wing nuts and remove the tail light assembly. Squeeze the lower tabs first, then the upper tabs, and separate the bulb socket from the assembly. Press on the light bulb and unscrew it from the socket.
13. Install the new bulb in the reverse order of removal. Check the operation of the light bulb upon completion.
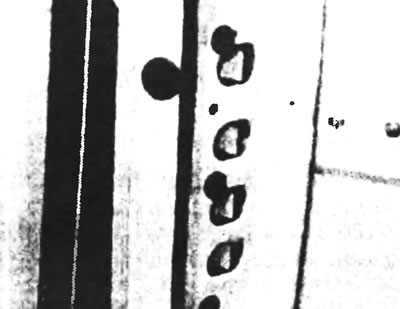
Figure 14.12,a. On early models, the rear light bulbs can be accessed through holes in the body pillar.
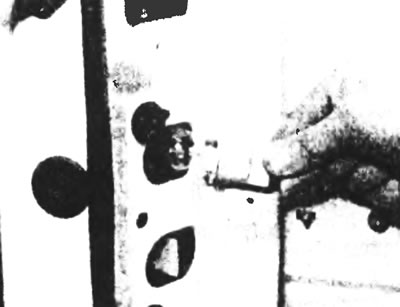
Figure 14.12, b. Unscrew and remove the holder of the required bulb from the rear light unit.
Pickups
14. Release the diffuser lock and move the diffuser to the side so that it does not get in the way. Remove the desired bulb from the socket in the rear light assembly.
15. Install the new bulb in the reverse order of removal. Check the operation of the bulbs when finished.
Rear license plate light
Models with double rear doors
16. Remove the light bulb cover by prying it with a screwdriver, then pull the light bulb out of the socket (see figure 14.16,a,b).
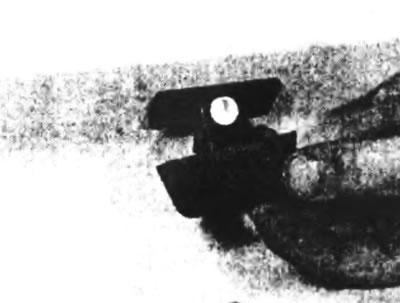
Figure 14.16,a. On models with a double rear door, remove the rear license plate light cover by prying it up with a screwdriver...
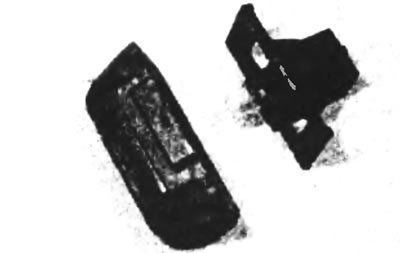
Figure 14.16, b....then remove the light bulb from the socket.
17. Install the new bulb in the reverse order of removal. Check the operation of the light bulb upon completion.
Models with a folding tailgate
18. Move the light diffuser to the left and rotate it so that it does not interfere. Push and twist the bulb to remove it from the socket (see Figure 14.19).
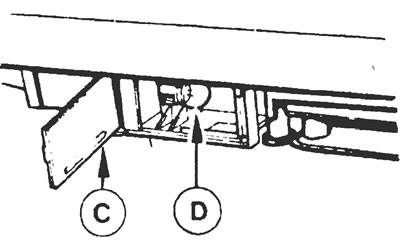
Figure 14.18. Diffuser (C) and bulb (D) of the rear number plate light assembly on Ford Transit vehicles with a folding tailboard.
19. Install the new bulb in the reverse order of removal. Check the operation of the light bulb upon completion.
Pickups
20. Remove the light bulb cover by prying it with a suitable screwdriver, then press on the light bulb and unscrew it from the socket (see Figure 14.21).
21. Install the new bulb in the reverse order of removal. Check the operation of the light bulb upon completion.
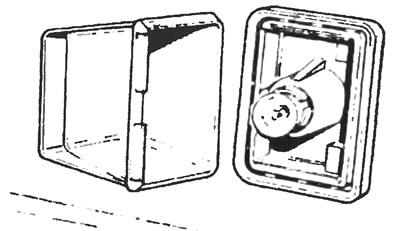
Figure 14.21. Rear license plate light assembly on pickup-type vehicles.