Contents: Removal ↳ Installation ↳
Removal
Models before 1995
1. Disconnect the negative battery cable.
2. Remove the four retaining screws and separate the heater control unit from the front panel enough to gain access to the rear of the unit.
3. Separate the plug and light bulb from the back of the cigarette lighter and remove the cigarette lighter from the panel (see Figure 11.3).
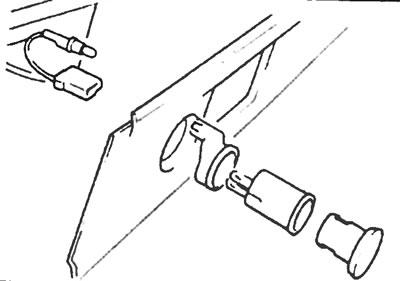
Figure 11.3. Detailed view of the cigarette lighter on models produced before 1995.
4. To separate the cigarette lighter from the lighting ring, squeeze the retaining tabs and pull the assembly out.
Models since 1995
5. Disconnect the negative battery cable.
6. Pull the element out from under the front panel and disconnect the plugs from the back of the cigarette lighter.
7. Turn the inner part of the cigarette lighter clockwise to release it from the outer part (cigarette lighter covers), then slide the inner part out of the front panel (see figure 11.7, a, b).
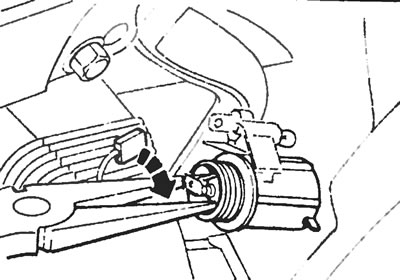
Figure 11.7,a. On recent models, turn the inner part of the cigarette lighter clockwise...
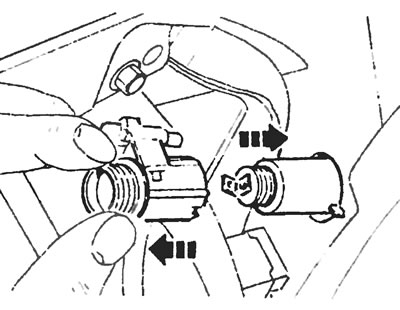
Figure 11.7, b....then slide the inner part out of the front panel.
Installation
All models
9. Installation is carried out in the reverse order of removal. Once completed, check the operation of the cigarette lighter.