Warning: Before starting work, please refer to the warning at the beginning Section 2.
Description
1. Some Ford Transit models are equipped with a brake pressure regulating valve, the purpose of which is to regulate the pressure applied to the rear brakes depending on the vehicle load. This prevents the wheels from "grabbing" due to increased pressure in the brake system.
2. The valve is installed under the car on the inside of the right side member, opposite the fuel tank (see Figure 17.2).
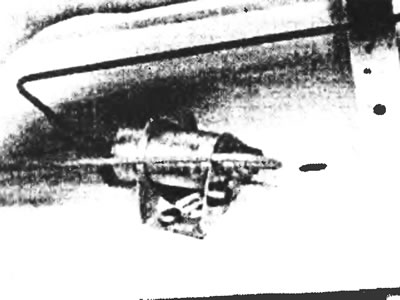
Figure 17.2. The brake system pressure regulating valve is located on the inside of the right side member.
3. The valve operates in a fully automatic mode and cannot be adjusted or repaired. If the valve fails or is defective, it should be replaced with a new one.
Removal
4. To remove the brake pressure regulating valve, first block the front wheels, raise the rear of the vehicle and place it on supports, ensuring sufficient working space under the vehicle.
5. Once the fluid is completely clean, remove the filler cap of the auxiliary brake fluid reservoir. Cover the filler neck with a clean piece of plastic, securing it with a rubber band. This will minimize the loss of brake fluid when separating the brake lines from the valve.
6. After cleaning the connection points of the brake pipes to the valve, unscrew the connecting nuts and separate the pipes from the valve. Plug or tape the ends of the tubes to prevent liquid from spilling and dirt from getting inside.
7. Pull out the valve retaining clip and separate the valve retaining clip.
Installation
8. Install the valve in the reverse order of removal. With the valve in place, add brake fluid and bleed the rear brakes as described in Section 2. Once you have done all this, have an assistant slowly press the brake pedal while you loosen the brake line nipple on the valve. Loosen the nipple slightly, no more than necessary to release the fluid. Once the fluid starts to flow out of the valve, tighten the fitting.
9. Lower the vehicle to the ground when finished.