Removal
1. Open the hood and place a support underneath.
2. Mark the position of the hood hinges so that they can be installed in their original places later (see Figure 6.2).
3. Have an assistant hold the hood while you unscrew the hinge retaining bolts and remove the hood.
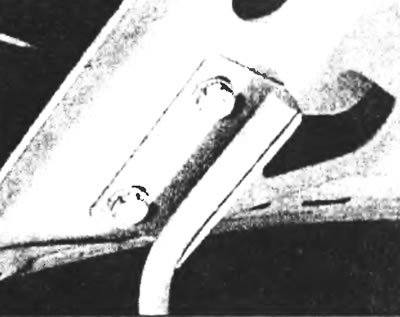
Figure 6.2. Mark the position of the hood hinges so that they can be installed in their original places later.
Installation
4. Installation is carried out in the reverse order of removal. The hinge bolts are finally tightened only after the position of the hood has been adjusted.
Regulation
5. To adjust the position of the hood, loosen the hinge bolts and locknuts on the stops located on the front cross member. Now adjust the hood so that the gaps between the edge and the wings of the hood on both sides are equal. Adjust the front hood stops until the hood is flush with the fender surface, then retighten the hood hinge bolts and hood stop locknuts.