Contents: Models before 1995 ↳ Models since 1995 ↳
Models before 1995
Glass replacement
1. Using a screwdriver, carefully separate the glass frame from the mirror housing (see figure 24.1,a,b). Remove the frame together with the glass.
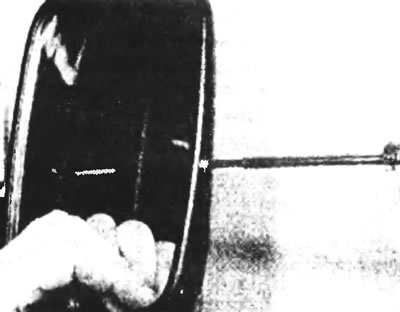
Figure 24.1,a. Carefully detach the glass frame from the mirror housing by prying it off with a screwdriver...
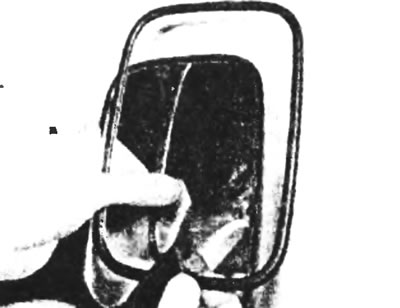
Figure 24.1, b....then remove the frame together with the glass.
2. After installing the new glass into the frame, carefully press the frame rim onto the mirror housing rim.
Mirror in its entirety
3. Remove the plastic caps from the decorative mirror mounting trim clips. After unscrewing, remove the four fasteners (see figure 24.3a,b). Remove the cover.
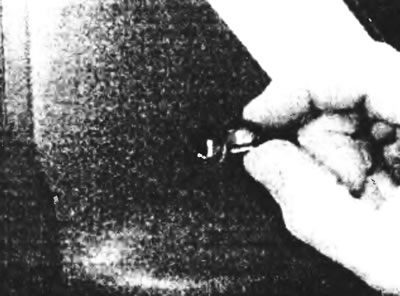
Figure 24.3,a. Pry off the plastic caps...
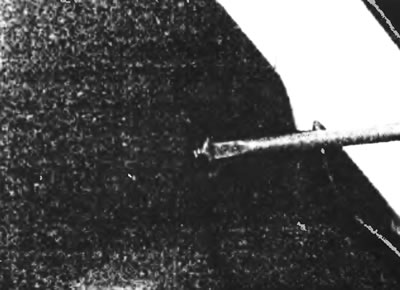
Figure 24.3, b....and unscrew the four mirror cover fasteners.
4. Remove the two Torx screws and remove the mirror (see figure 24.4).
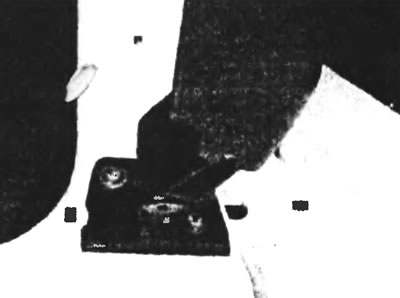
Figure 24.4. Remove the mirror by unscrewing the two Torx screws.
5. Install the mirror in reverse order.
Models since 1995
Mirror in its entirety
6. On models produced after 1995, the mirror can only be removed and reinstalled as a whole. Replacing the mirror glass separately is not possible.
7. Using a pry bar, release the plastic covers and remove the three mirror trim fasteners (see Figure 24.7).
Figure 24.7. Using a hook, release the plastic caps and remove the three mirror fasteners.
8. Separate the mirror with the frame from the door and, if the mirrors are heated, disconnect the multi-pin plug.
9. Install in the reverse order of removal; remember that the gasket and guide pins must be installed correctly.