Contents: Hood release cable ↳ Hood lock ↳
Hood release cable
1. Open and support the hood. If the cable breaks, the lock can be released by placing your hand under the hood and trying to do it manually or using a metal rod.
2. Disconnect the cable end from the lock and the cable sheath from the inner surface of the front panel (see Figure 7.2).
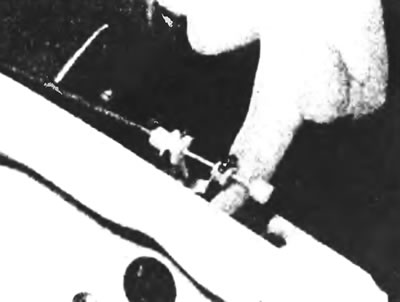
Figure 2. Location of the hood cable on the lock.
3. Disconnect the cable from the hood lock handle (inside the cabin) by pulling it to the side (see Figure 7.3).
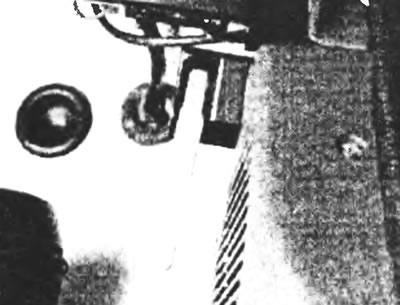
Figure 7.3. Disconnect the hood cable from the lock handle.
4. Pull the cable through the engine compartment bulkhead along with the rubber grommet securing it to the bulkhead.
5. The cable is installed in reverse order. Once completed, check its operation.
Hood lock
6. Disconnect the cable from the lock and unscrew the three fixing screws. Remove the lock from the front panel (see Figure 7.6).
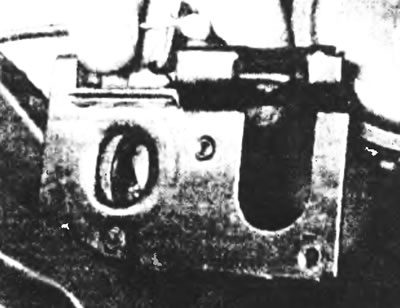
Figure 7.6. Remove the hood lock from the front panel.
7. The lock is installed in reverse order.
[The original source of the publication is on the website: Fordbook.ru]