SEQUENCE OF WORKS
1. Raise the vehicle horizontally and secure it on supports. Remove the front wheel.
2. Loosen the self-locking nut securing the ball joint journal of the steering rod end to the steering knuckle by several turns.
3. Use a puller to push the ball joint pin of the tie rod end out of the steering knuckle. Completely loosen the self-locking nut and remove the ball joint pin of the tie rod end from the steering knuckle.
4. Unscrew the clamp bolt securing the tie rod end to the tie rod. Unscrew the tie rod end from the tie rod, accurately count the thread turns on which the end was screwed (or count the turns when removing). Screw on a new tie rod end by the same number of turns.
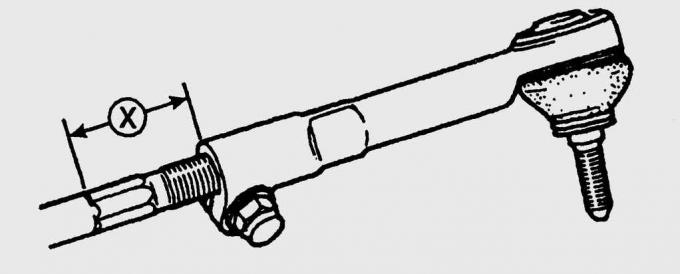
Fig. 13.12. The place of measurement of the distance (X) from the end of the tip to the end of the thread on the steering rod
You can do the following: before removing, mark the position of the tip end on the steering rod with paint or measure the distance from the tip end to the end of the thread on the steering rod and write down the obtained value (Fig. 13.12). When installing, screw the tip onto the steering rod to the mark made before removal, or to the distance at which the tip was before removal. If the car does not pull to one side after repair, you can skip checking the wheel alignment angles.
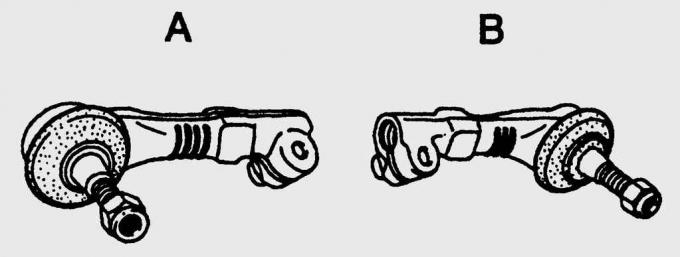
Fig. 13.13. Marking (A and B) of the left and right steering rod ends
The left and right tie rod ends are different from each other. If you cannot tell the ends apart, mark them first (Fig. 13.13).