Contents: Removal ↳ Installation ↳
Removal
1. Disconnect the negative battery cable.
2. Remove the steering wheel as described in Section 22.
3. Loosen the retaining screws and remove the upper and lower steering column covers.
4. Disconnect the wiring harness connectors from the steering column multi-function switches and release the wiring clamps (see Figure 23.4).
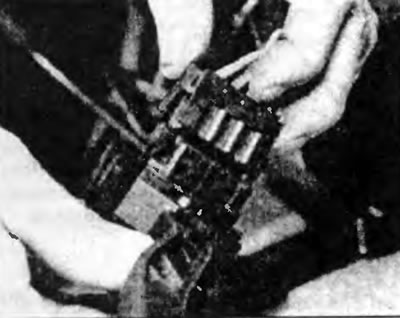
Figure 23.4. Disconnect the wiring harness connector from the multi-function switches framing the steering column.
5. Working in the engine compartment, unscrew the universal joint pressure plate bolt and move the pressure plate to the side. Please note that a new bolt will be required when installing the pressure plate. Separate the universal joint from the lower U-joint shaft or from the steering shaft, depending on the model.
6. Unscrew the four nuts securing the steering column pipe to the bulkhead (see Figure 23.6).
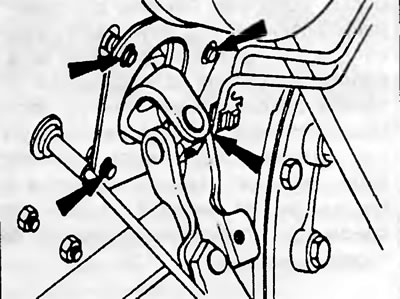
Figure 23.6. Steering column attachment points to the bulkhead (shown by arrows).
7. While in the car, support the column and unscrew the two nuts of its upper mount. Move the speaker inside the car (see Figure 23.7).
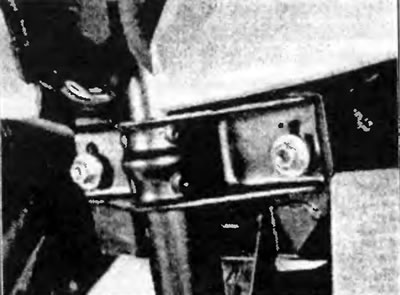
Figure 23.7. Upper steering column locking nuts.
Installation
8. Installation is carried out in the reverse order of removal, but please note the following additional points:
- a) When connecting the universal joint to the steering shaft, make sure that both the steering column and the wheels are centered, and secure the pressure plate with a new bolt;
- b) Tighten all fasteners to the specified torque. When installing the steering column, first secure it with the two top nuts, but do not tighten them completely, then install the nuts; securing the column to the bulkhead of the engine compartment, also without tightening them completely, then tighten the upper column nuts completely, and then fully tighten the nuts securing the column to the bulkhead of the engine compartment;
- c) Install the steering wheel (see Section 22);
- d) Ensure all wiring harness connections are secure and install new clamps. Check the operation of all switches and only then install the column covers.
The original post is on the web portal (fordbook)