SEQUENCE OF WORKS
1. For deep scratches on bumpers, fenders or doors, remove the body part before repairing. The repair result will be better and it will be easier to treat the damaged areas.
2. Sand the damaged areas with sandpaper (80 and 100 grit). In case of rust - to clean metal. Apply a rust converter and leave it for one hour.
3. Clean and degrease the area with gasoline or solvent and let dry.
4. Mix the putty and hardener. The putty mass evens out the unevenness of the damaged area.
Work quickly with the filler, as it hardens within a few minutes. Therefore, prepare small quantities of filler for work. Treat uneven areas with spray filler.
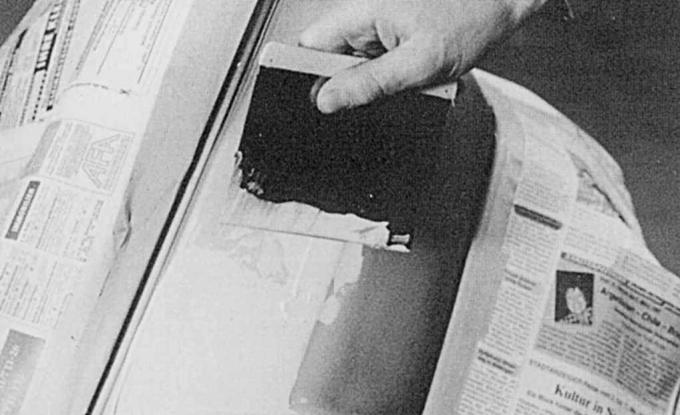
Fig. 3.17. Using a spatula to apply putty
5. Apply the putty evenly in several thin layers (Fig. 3.17). The layer will harden in about an hour. If you are using a spatula for the first time, practice before you start serious work. Apply several layers of putty to an old body part as a test. This will give you a certain skill and confidence in handling this material.
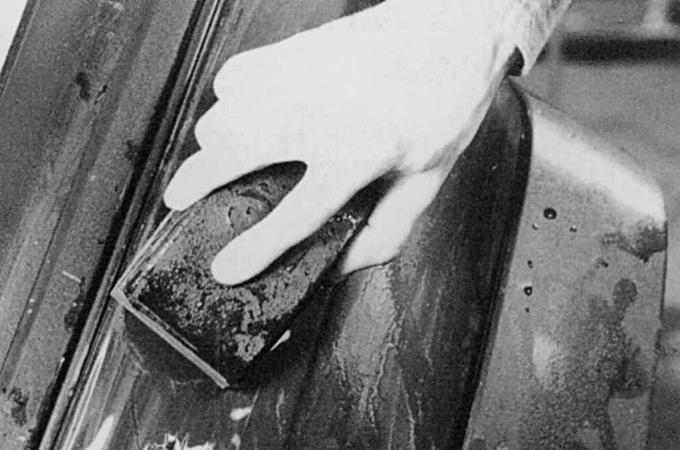
Fig. 3.18. Sanding the damaged area with sandpaper wrapped around the block, using uniform movements in one direction. Dip the block in water all the time to remove sanding dust
6. Remove any uneven areas with dry sanding paper (180 grit). Wrap sanding paper (400 grit) around the block and sand the damaged area using even movements in one direction (Fig. 3.18). Keep dipping the block in water to remove sanding dust.
Wet the damaged area generously with water and do not apply too much force.
7. The remaining uneven areas are leveled with a spatula-sprayer, dried and finally sanded with wet sandpaper (grain size 600).
8. Before varnishing, thoroughly wash off sanding dust with water.
Professional varnishing
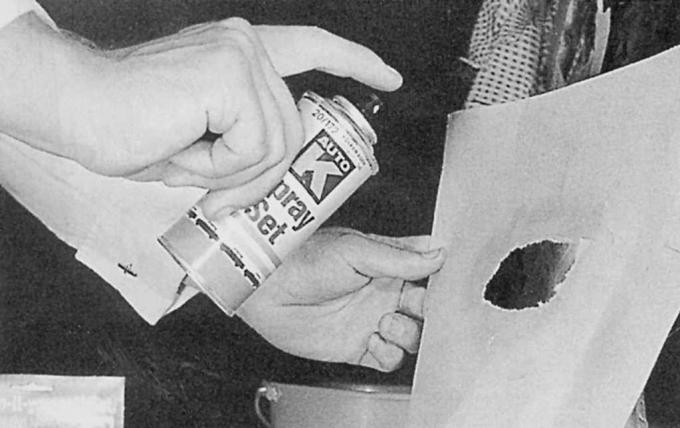
Fig. 3.19. Spraying paint through a hole the size of the area to be treated, cut out in a large sheet of paper. The stream of varnish covers only this area
9. Cover the carefully prepared damaged area with waterproof tape, film or old newspapers. You can also cut a hole in a large sheet of paper the size of the area to be treated (Fig. 3.19), then you will not paint over anything extra. Do not use cheap tape, it peels off quickly and even lets paint through.
When applying varnish, toxic fumes are produced, so make sure your work area is well ventilated.
10. Apply a primer (filler) sold in aerosol cans as a fine-pored base for the top coat. Work carefully - unevenness and varnish runs do not disappear when applying subsequent layers of varnish, they only increase. Let the primer dry and sand until the coating is uniform with wet sandpaper (grain size 600). Wash off the sanding residue with water.
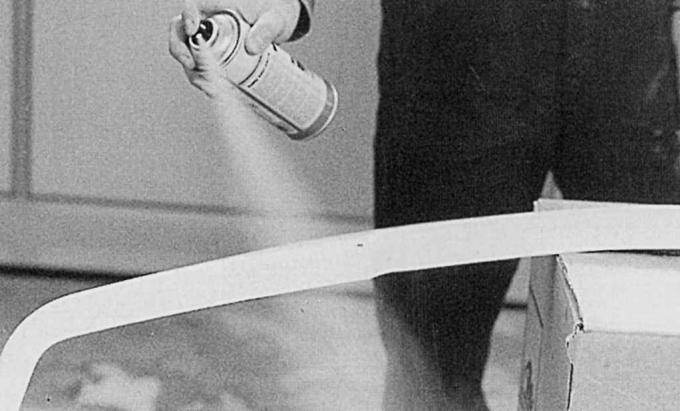
Fig. 3.20. Spraying varnish from an aerosol can
11. Apply the top coat varnish evenly and in several layers from an aerosol can. The distance from the aerosol head to the surface to be varnished should be approximately 20–30 cm. Before applying the varnish, heat the aerosol can in warm water. The paint particles soften under higher pressure, the surface becomes smoother and easier to polish. Hold the aerosol can over the surface to be varnished as calmly as possible (Fig. 3.20). Direct the aerosol stream along the object to be varnished, do not interrupt the stream and do not direct it in an oval pattern, otherwise the varnish will run.
12. Remove the edges of the adhesive tape around the area to be repaired, bend them back and apply varnish from an aerosol can to these areas. The transition to the original paintwork will be unnoticeable and will be easier to polish.
13. Once the coating on the repaired area has completely dried (in summer after two days, in winter after five), treat the repaired area with polish, and the transitions with a cleaning agent. You will achieve better results if you polish the entire car in the end.
PRACTICAL ADVICE
Recycling old paint, empty aerosol cans, dirty rags and brushes
Leftover paint, varnish and solvents, as well as dirty brushes, rags and aerosol cans, cannot be thrown away with regular household waste.
(This article was borrowed from the website: FORDBOOK)