Warning: If suspension or steering fasteners are lost or unscrewed, they must be replaced with new ones, do not reuse them. Fasteners are replaced with new ones of the same design, quality and marking.
Withdrawal
1. Loosen the wheel nuts, raise the rear of the car, place it securely on stands. Block the front wheels, remove the rear wheel.
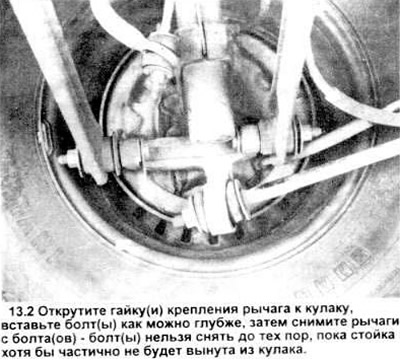
2. Unscrew the nut securing the lever to the knuckle and move the bolt as far as possible (see picture).
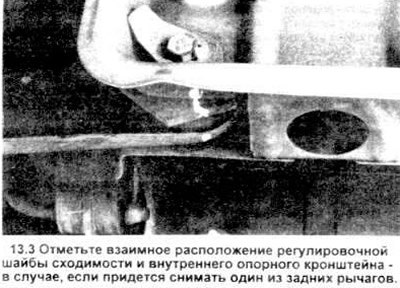
3. Mark the relative position of the toe shim wheel and the inner arm support bracket (see picture). This will allow you to save the convergence adjustment in the future.
4. While supporting the lever, unscrew the inner mounting bolt and nut.
Caution: the edges of the stamped levers are very sharp.
5. Remove the control lever from the vehicle.
Installation
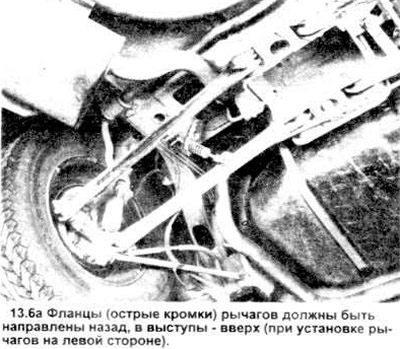
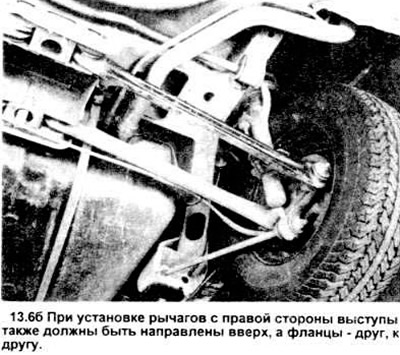
6. When installing both the left and right front arms, place the arms with the tab up and the flange back, then install a new inner mounting bolt. When installing the right rear arm, the tabs must also "look" up, but the flange must be turned towards the front of the vehicle (see pictures).
7. From the inside, through the lever and fist, insert a new bolt securing the lever to the hub. Install new washer and nut by hand.
8. Place a jack under the shaft and raise the knuckle to normal height.
9. Visually check that the marks on the toe washer match, then tighten the inner mounting bolt to the correct torque.
10. Tighten the outer nut to the correct torque.
11. Install the wheel and screw on the nuts, lower the car. Tighten the nuts to the required tightening torque.
Visitor comments