Switch
Windscreen wiper
2. The wiper/washer switch is included in the multi-function switch unit section 7 see replacing the multi-position switch.
Rear window wiper
3. Unscrew the four locking screws and, turning the top edge outward, detach the instrument cluster decorative panel.
4. Pull out the electrical connector, unscrew the locking screws (if any) and pull out the switch.
5. Perform installation in reverse order.
Engine
Windscreen wiper
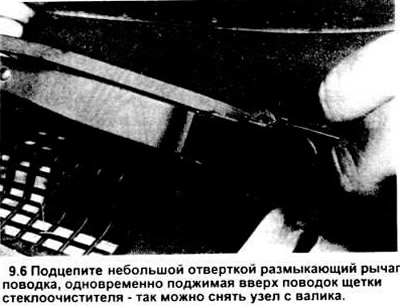
6. Remove the left leash (see picture).
7. Remove the left hood guard.
8. By lifting the clamp up (see figure), disconnect the connecting rod from the engine lever.
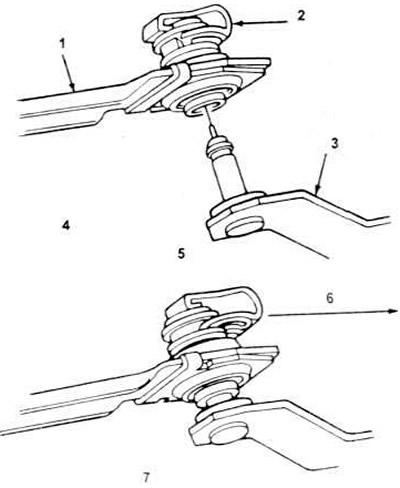
9.8. Wiper blade connection parts.
1. Brush drive lever.
2. Clamp.
3. Brush motor lever.
4. Note: Firmly push the brush drive lever onto the pin until it snaps into place.
5. Installation.
6. To remove the clamp, lift and pull the lever.
7. Removal.
9. Pull out the electrical connector, unscrew the locking bolts, and lift the engine from the engine compartment (see figure).
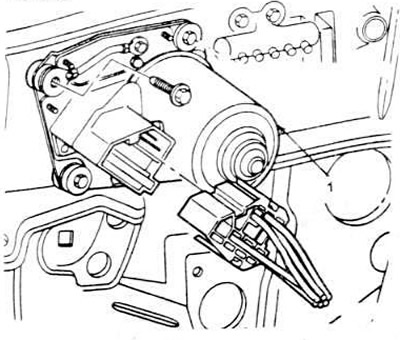
9.9. Pull out the electrical connector, unscrew the bolts and remove the wiper motor.
1. Windscreen wiper motor.
10. Installation is carried out in reverse order.
Rear window wiper
11. Remove the brush (see figure).
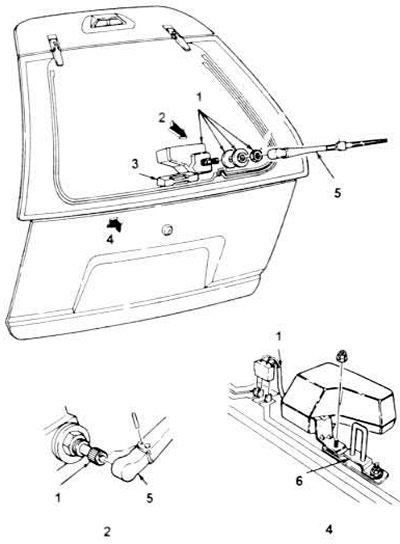
9.11. Installation parts of the rear window wiper and its motor.
1. Rear window wiper motor.
2. View A
3. Rear window handle.
4. View B.
5. Rear wiper with brush.
6. Rear window latch.
12. Open the body door.
13. Pull out the electrical connector, unscrew the lock nut, disconnect the engine block from the body and remove it.
14. Install in reverse order.
(The original source of the publication is on the website: www.fordbook.ru)